How Does 3D Scanning Work? A Beginner’s Guide to the Technology
You have a part on the bench and no drawing for it. Or you have the drawing, and now you

Every scanner owner eventually meets a part that simply won’t cooperate: a chrome bracket that throws light back at the sensor, a clear acrylic housing the laser passes straight through, or a matte black injection-molded cover that swallows every projected pattern. Scanning reflective, shiny, and dark surfaces is the single most common reason a 3D scan comes back sparse, noisy, or full of holes, and it frustrates new and experienced metrologists alike.
This guide explains why optical scanners struggle with these materials, how to recognize the three problem surface types before you waste a session, and the three reliable solutions practitioners use to get clean data: vanishing scanning sprays, retroreflective reference targets, and choosing the right scanner technology for the job. By the end you’ll have a repeatable workflow for the parts that used to ruin your afternoon.
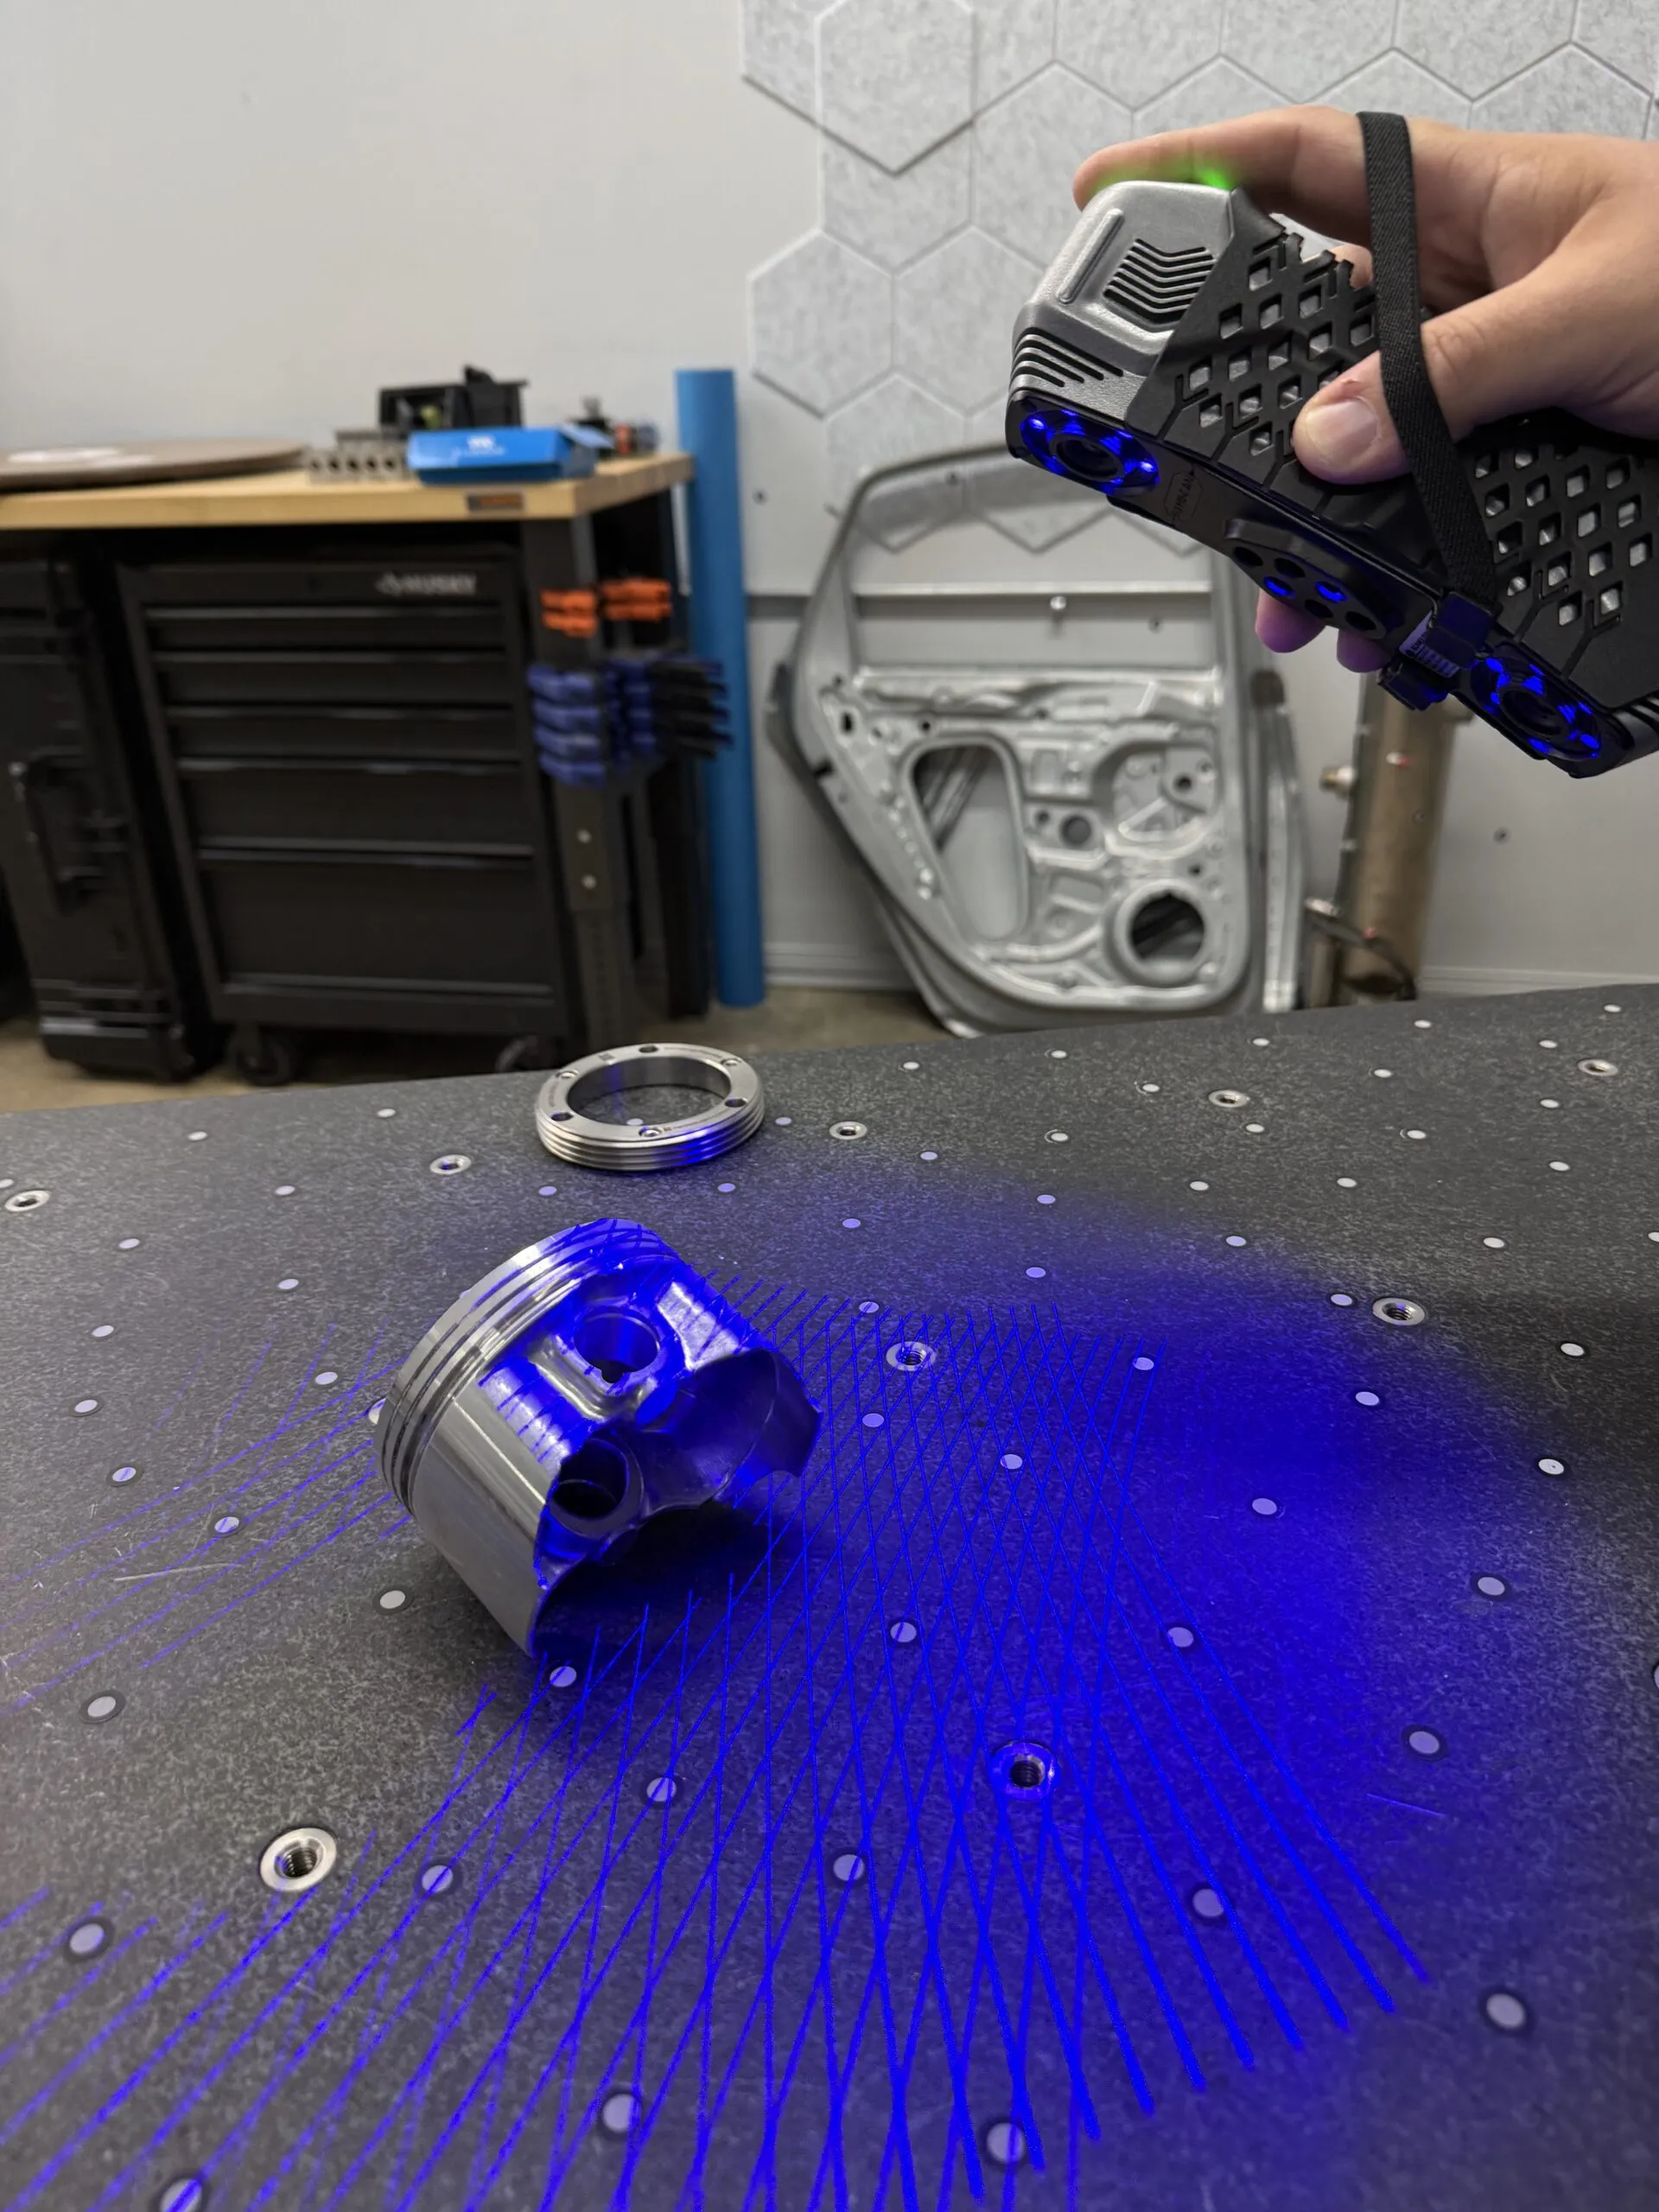
Structured-light and laser 3D scanners are fundamentally cameras that measure light. The scanner projects a known pattern, usually blue or white structured light or a laser line, onto the part. Its cameras then read how that pattern deforms across the surface and triangulate thousands of 3D points from the result. The entire measurement depends on one assumption: that light hits the surface and scatters back diffusely, evenly, in all directions, so the cameras see a crisp, predictable return.
Challenging surfaces break that assumption in three different ways. Reflective surfaces act like mirrors, so projected light bounces off at the angle of incidence instead of scattering. The camera either sees a blinding hot spot or nothing at all, and worse, it picks up secondary reflections that the software misinterprets as phantom geometry floating off the part. Transparent surfaces let the light pass through entirely, so there is no surface return to read; the scanner often locks onto whatever sits behind the glass instead. Dark and matte black surfaces absorb most of the incident light, starving the cameras of signal and leaving you with thin, noisy point clouds that drop out in shadowed areas.
The practical symptoms are familiar: holes and missing data, a noisy or “fuzzy” mesh, doubled or ghosted surfaces, and exposure that you can never quite balance, parts blow out white while recesses go black in the same frame. Pushing exposure or HDR settings helps at the margins, but it cannot fix a physics problem. To measure these parts accurately you have to change the optical behavior of the surface, give the scanner external references, or use hardware engineered to tolerate the return in the first place.
Diagnosing the surface before you scan saves time and prevents the temptation to blame the equipment. Most difficult parts fall into one of three categories, and each responds best to a slightly different combination of the solutions below.
This is the broadest category and includes chrome and nickel plating, polished or machined aluminum, stainless steel, mirror-finished molds, and even glass-filled or high-gloss plastics that have a subtle specular sheen. The defining trait is specular reflection, where light reflects in a single direction rather than scattering. A polished aluminum housing might scan beautifully on its bead-blasted interior and fail completely on its mirror-finished exterior.
For nearly all reflective parts, a thin matting coating is the most direct fix, which is why vanishing sprays exist. We see these surfaces constantly in our reverse engineering services, where the original part is rarely a convenient matte finish.
Glass, clear polycarbonate and acrylic, lenses, light pipes, fluid reservoirs, and optical components are the trickiest of all because there is no surface for the scanner to register. Light refracts through the part and reflects off internal features, so the scanner records a confused blend of front surface, back surface, and whatever lies behind the part on your table.
Transparent parts almost always require a coating, and for clear plastics destined for re-modeling you’ll want a fine, even layer so you don’t lose edge definition. For optics and components where pigment residue is unacceptable, a pigment-free spray is the right call. These parts are common in our metrology and 3D inspection work, where dimensional accuracy on a clear lens housing still has to be held to tight tolerances.
Black rubber, dark plastics, carbon fiber, anodized black aluminum, and painted matte-black components absorb light rather than reflecting it. Unlike shiny parts, dark surfaces don’t create false geometry, they simply return too little signal. The result is a thin point cloud that thickens unpredictably with exposure and leaves dropouts in any area angled away from the cameras.
Counterintuitively, very dark matte surfaces are sometimes scannable with a high-sensitivity scanner and long exposure where a shiny part is not, because at least the light isn’t bouncing off in the wrong direction. But for production-grade accuracy, a light matting coat is usually still the fastest path to a complete, low-noise scan. Carbon fiber is a special case: its woven specular highlights combine the worst of dark and reflective behavior and almost always needs spray.
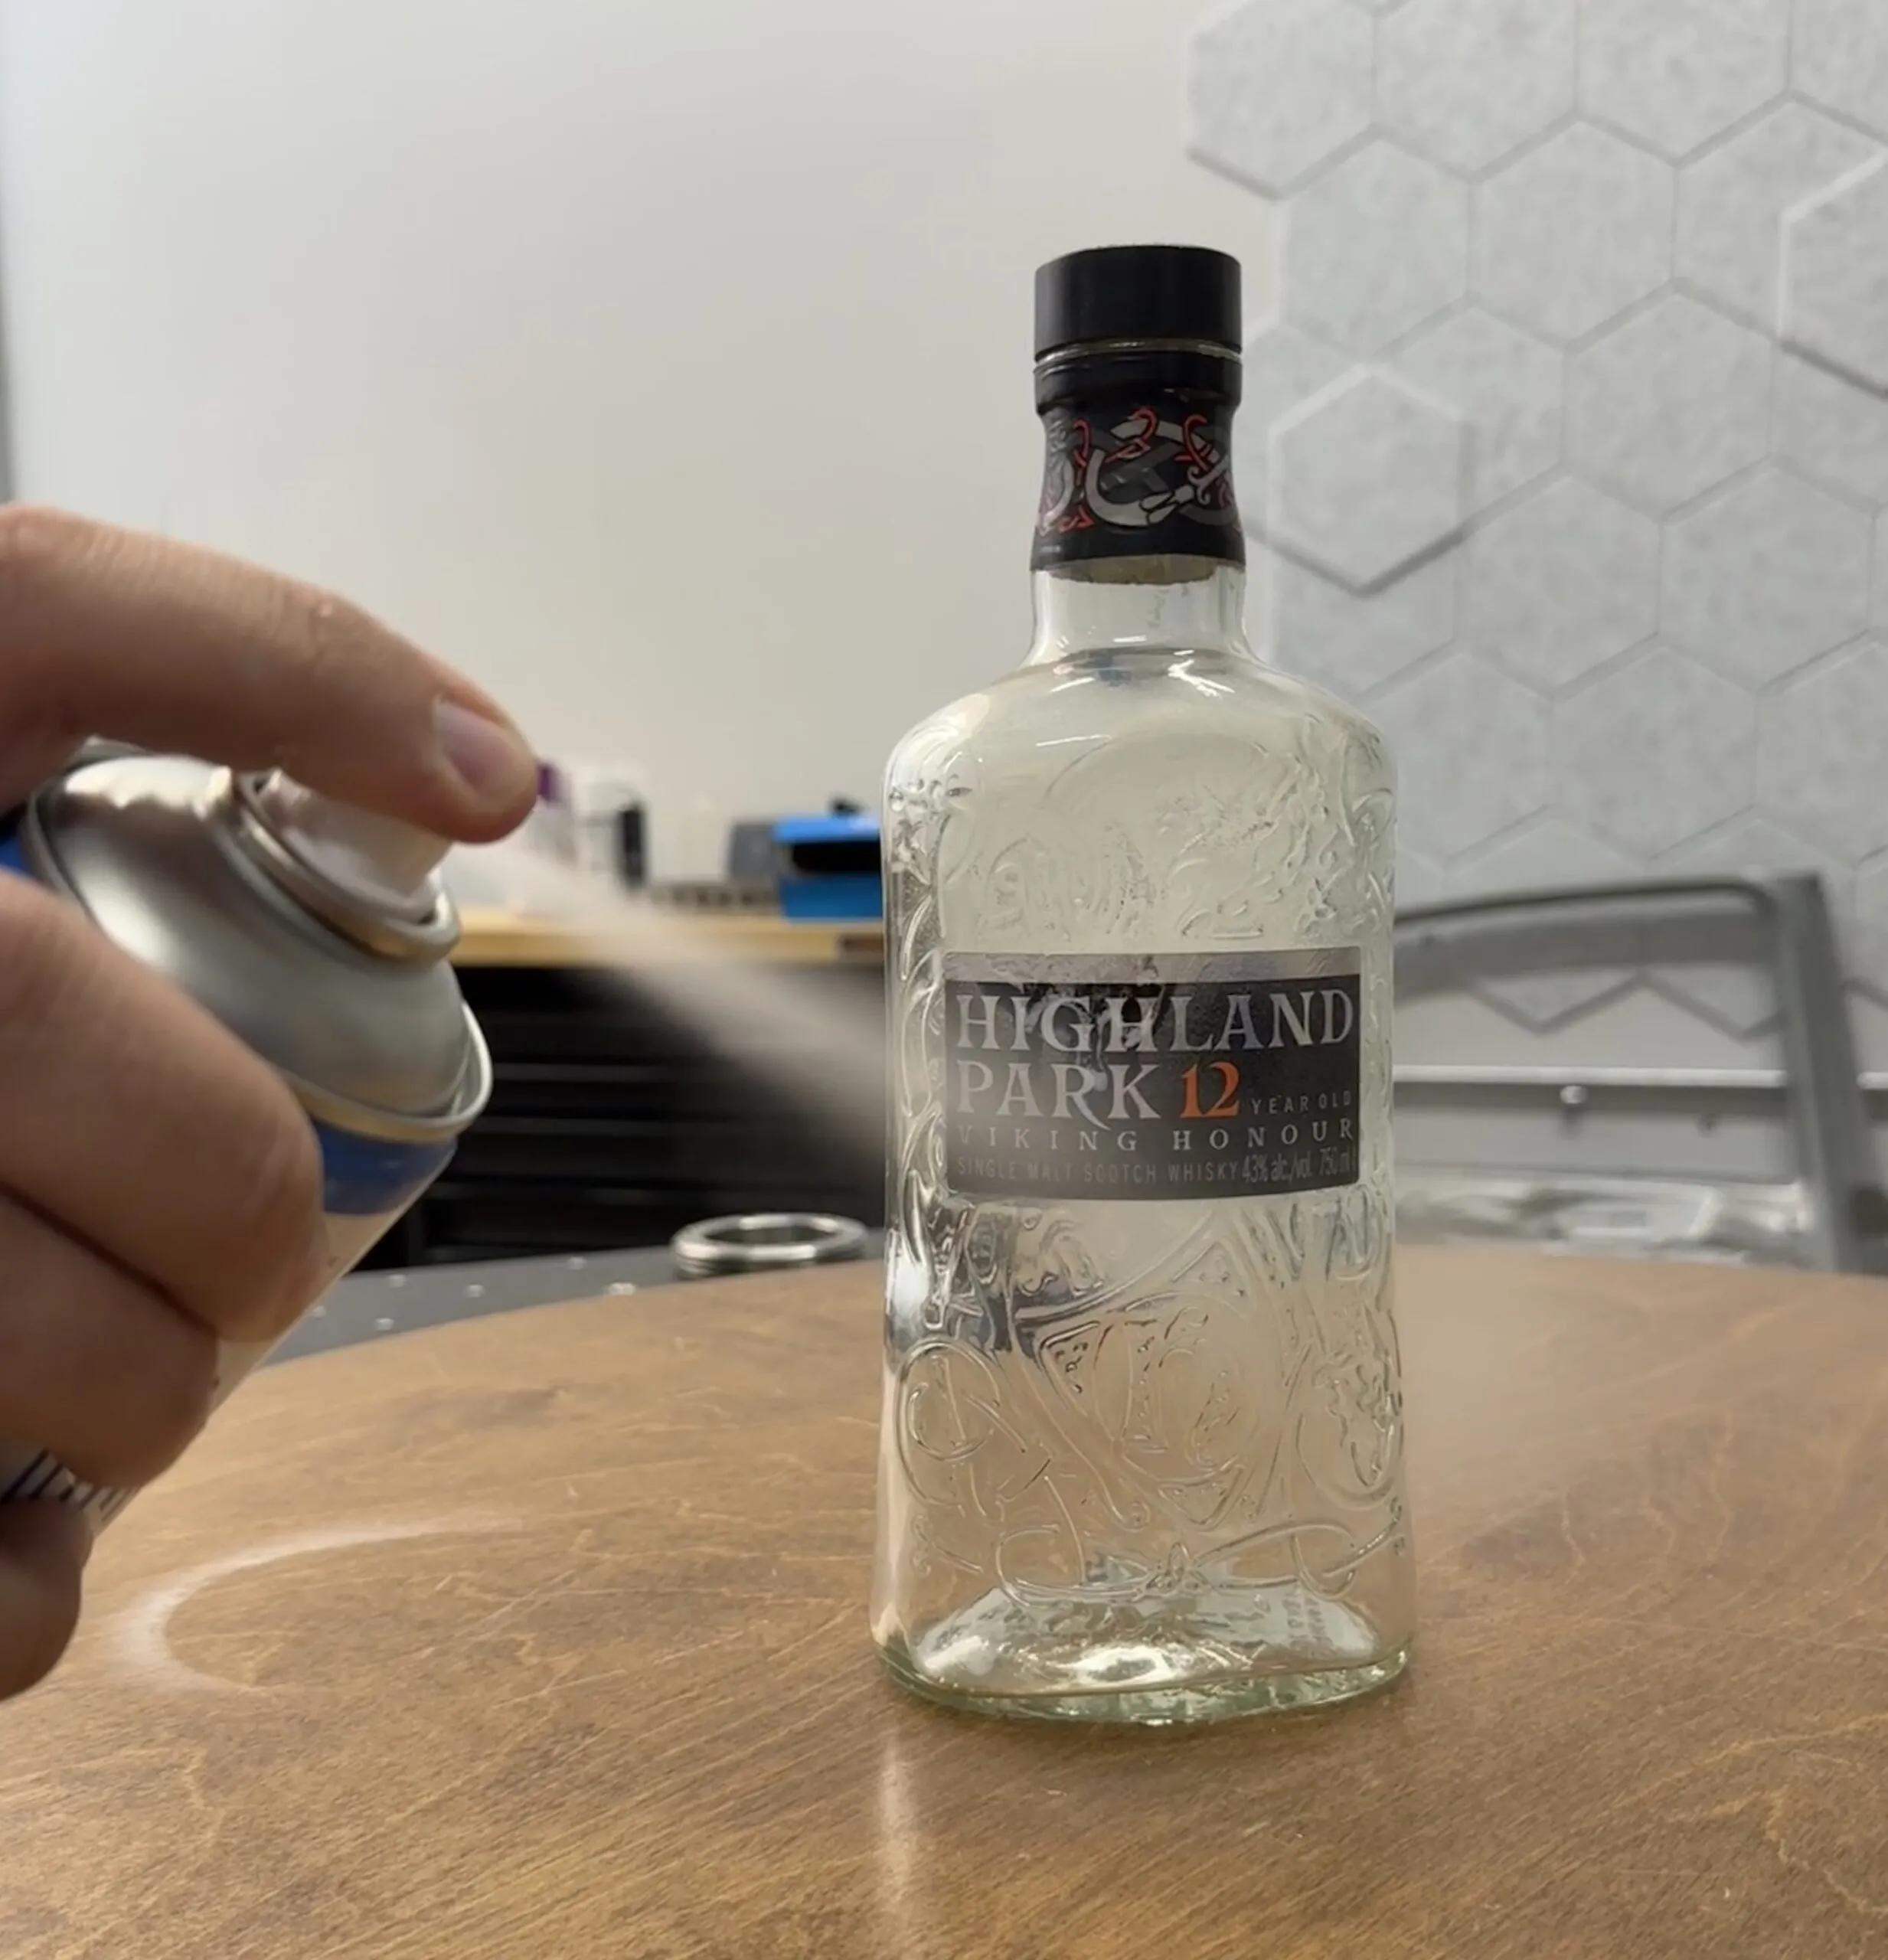
The first and most universal solution is a thin matting coating that turns any problem surface into an ideal diffuse white target. Traditional matting powders and titanium-dioxide sprays work optically but leave a film you have to clean off, and on transparent or food-contact parts that residue is a real problem. Vanishing sprays solve both issues at once, which is why they’ve become the default for serious scanning shops.
AESUB sprays apply as an ultra-thin, uniform white layer, typically just a few microns thick, that gives the scanner a perfect diffuse surface. The defining feature is that the self-vanishing variants sublimate and disappear completely within minutes to a few hours, leaving no residue, no cleanup, and nothing to remove from delicate or assembled parts. That makes them ideal for parts you can’t easily wash, threaded features, electronics, and customer property you have to return untouched.
Single bottles start around $40.50, and bulk and aerosol-free options exist for production use. For a busy lab, the time saved on cleanup and the ability to scan customer parts without altering them usually justifies the cost on the first job.
Not every coating is self-vanishing, and the choice involves real tradeoffs. The table below summarizes how the common options compare for scanning work.
Coating typeResidue / cleanupLayer thicknessBest for Titanium-dioxide developer sprayLeaves film; must be cleanedModerateQuick one-off scans where cleanup is easy AESUB self-vanishing (Blue/Orange)None; sublimatesThin, uniformCustomer parts, assemblies, threads, no-cleanup workflows AESUB Violet (pigment-free)None; no pigment residueThinFood-contact, medical, optical parts AESUB Diamond (ultra-fine)None; sublimatesUltra-thin (microns)High-resolution small-part scanningThe key engineering point is that every coating adds thickness, and thickness adds dimensional error. A heavy, uneven spray can add 10–20 microns or more per surface, which matters enormously on a tight-tolerance inspection and far less on a styling surface you’re reverse engineering. Self-vanishing sprays let you apply a thin, even coat and, for the finest work, AESUB Diamond keeps that layer down where it won’t swamp your accuracy budget.
The spray is only as good as the application. Inconsistent, blotchy coverage trades one problem for another, so technique matters as much as product choice.
Spray in a ventilated area and follow the safety data sheet. Practiced applicators can coat and complete a part faster than they could have cleaned a residue spray afterward, which is the real productivity win.
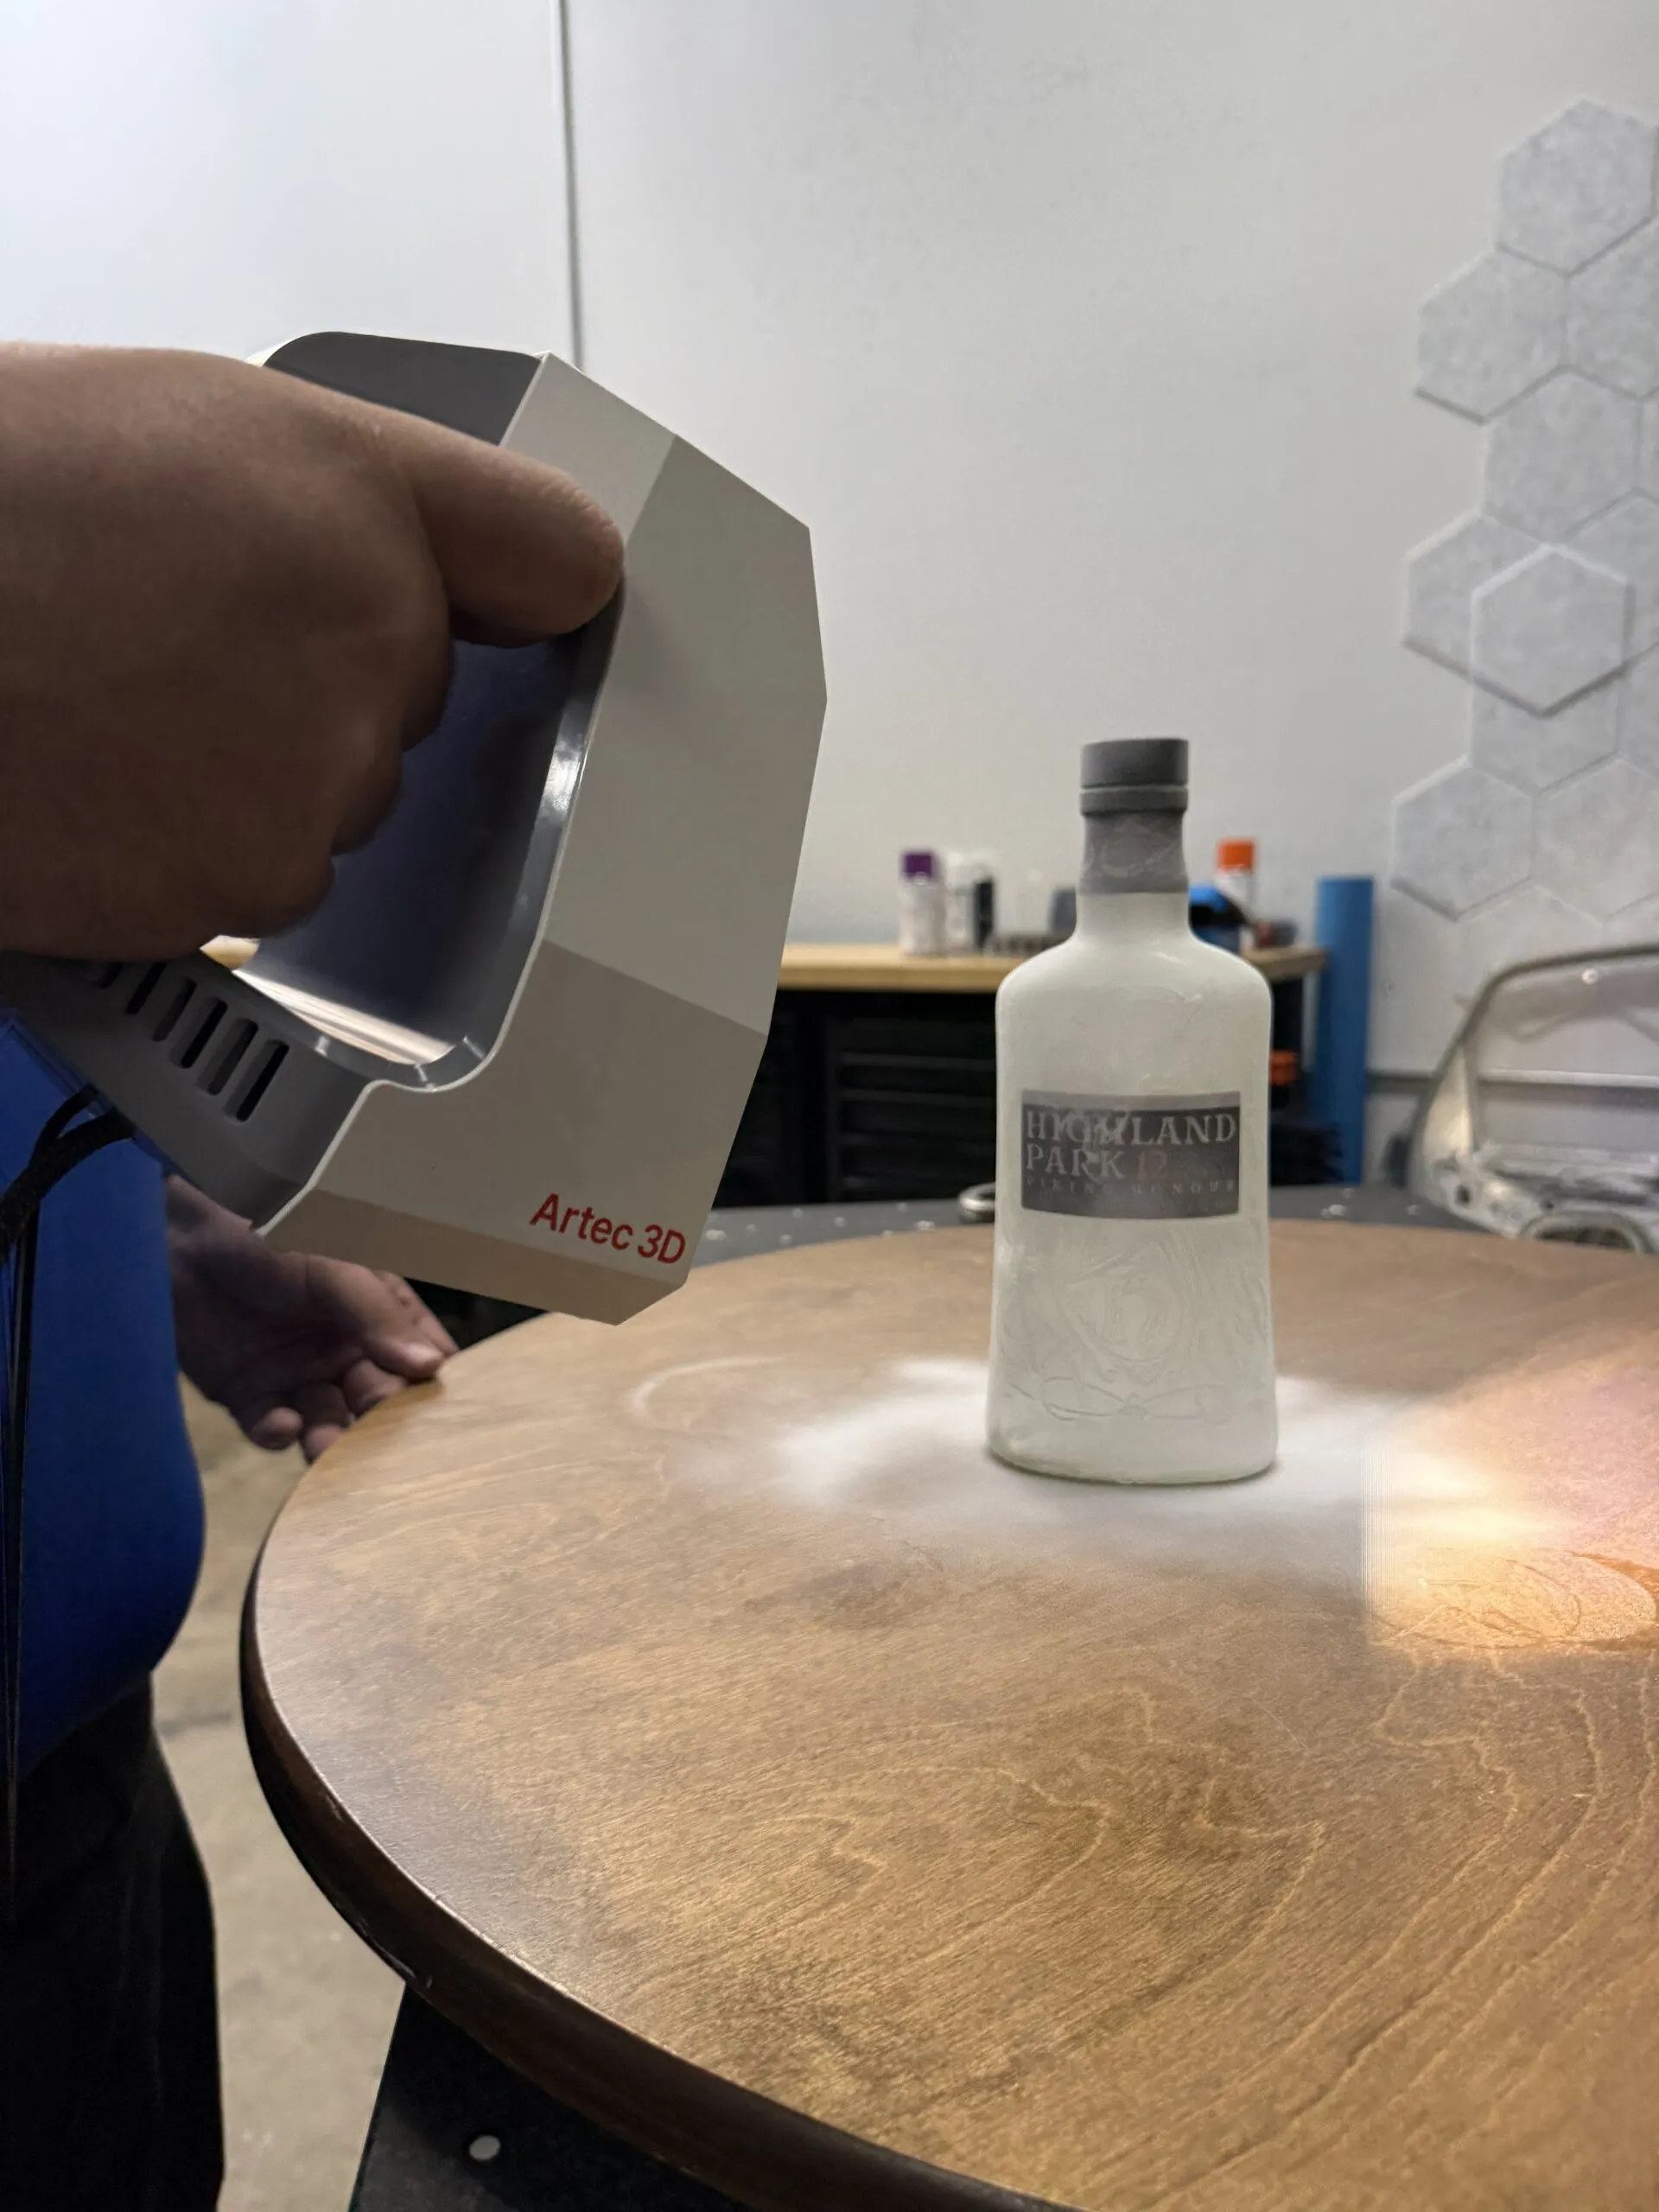
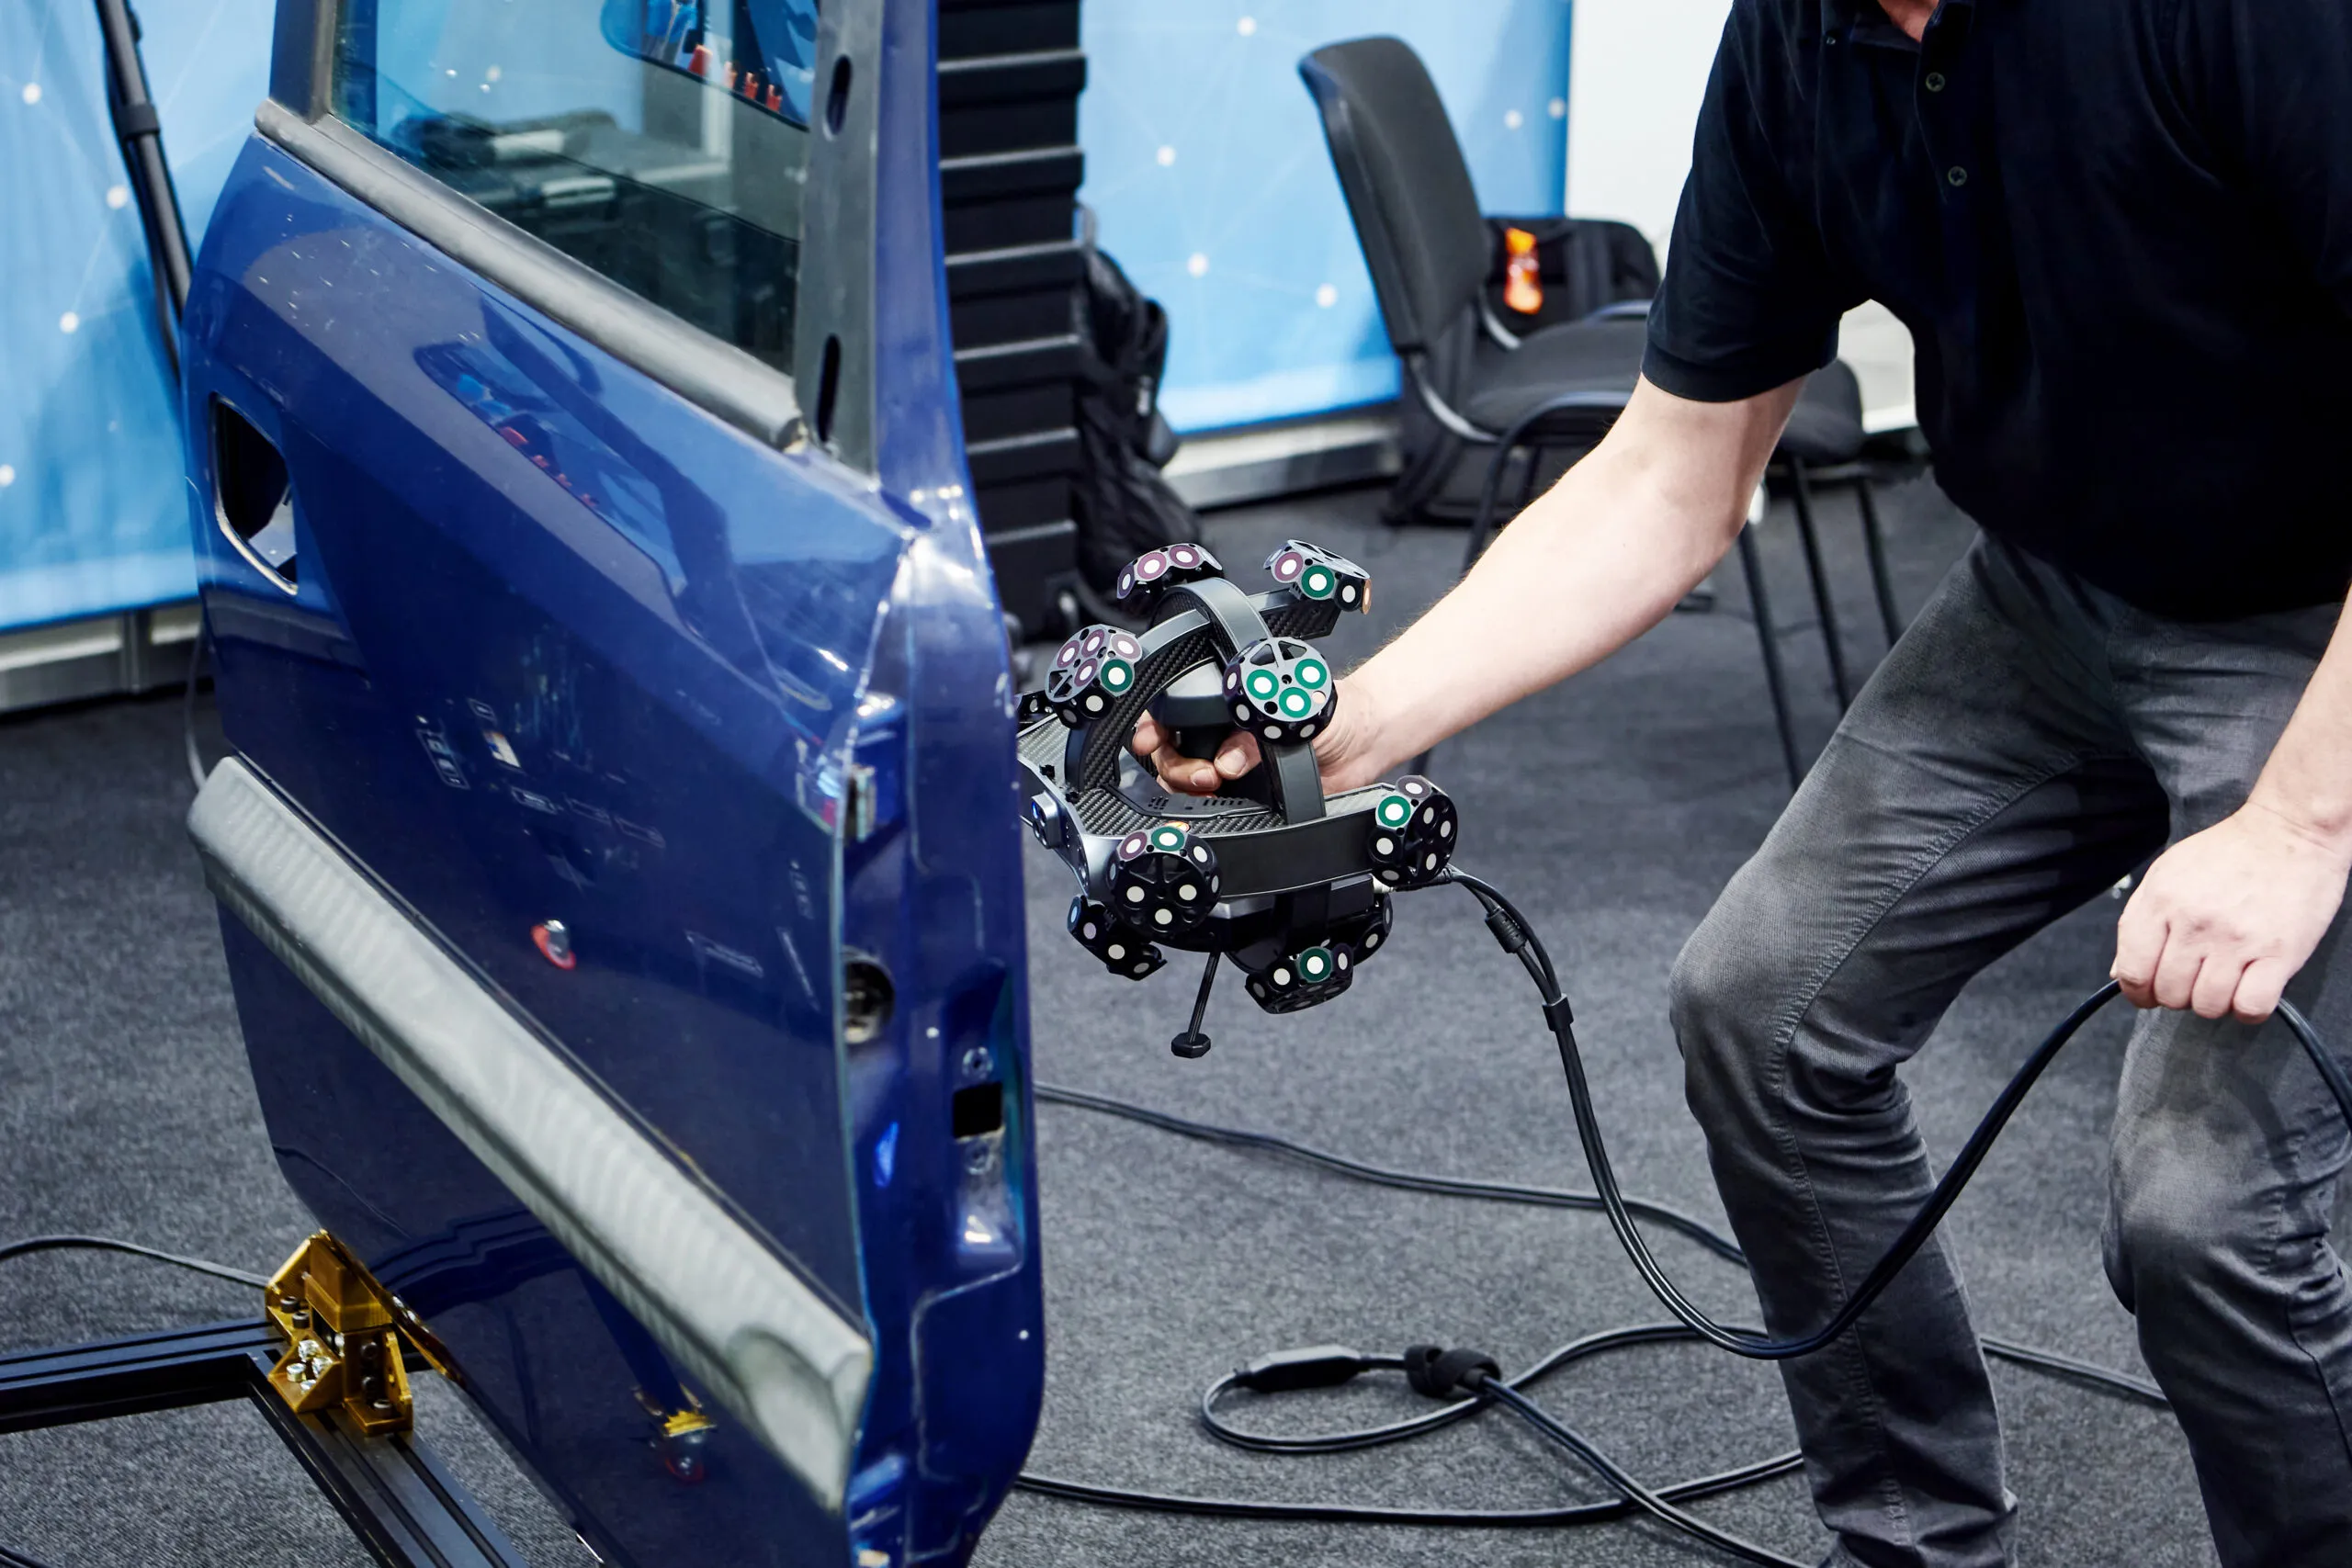
Spray fixes the surface; targets fix the tracking. Many laser and structured-light systems, especially metrology-grade laser trackers and tracking-based scanners, use small adhesive retroreflective dots, often called reference or registration targets, to lock the scanner’s position in space. The scanner finds these high-contrast dots reliably even when the surrounding surface is misbehaving, and uses them to stitch frames together and hold global accuracy across a large part.
Targets solve a different half of the problem than spray. On a large reflective panel, spray gives the cameras a readable surface, but the scanner can still lose its positional lock as it sweeps across a featureless, glare-prone area. Retroreflective targets give it stable anchor points to triangulate against, dramatically reducing drift and the accumulated error that shows up as warping on big assemblies. In practice the two techniques are often combined: targets for global registration, spray for local surface detail.
Tracking-based systems such as the Scanology NimbleTrack wireless scanner are built around this marker-based workflow and excel on the large, shiny, or geometrically complex parts where handheld stitching alone would drift. For the largest layouts, a portable measuring arm (portable CMM) can establish hard reference points that anchor the whole inspection.
The third solution is hardware. Not all scanners struggle equally with difficult materials, and a scanner engineered with a strong light source, high dynamic range, and intelligent multi-exposure capture can read surfaces that would defeat a budget unit, sometimes with little or no spray at all. If you scan reflective, dark, or transparent parts regularly, scanner choice is a strategic decision, not just a budget one.
Several characteristics separate scanners that handle hard surfaces from those that don’t:
For fine, glossy, small parts, a high-resolution blue-laser system like the Artec Spider II delivers detail through a minimal spray coat that lesser scanners can’t match. If you’re not sure which platform fits your mix of materials, browse our portable and handheld 3D scanners, or talk to our team about a side-by-side demo on your own difficult parts.
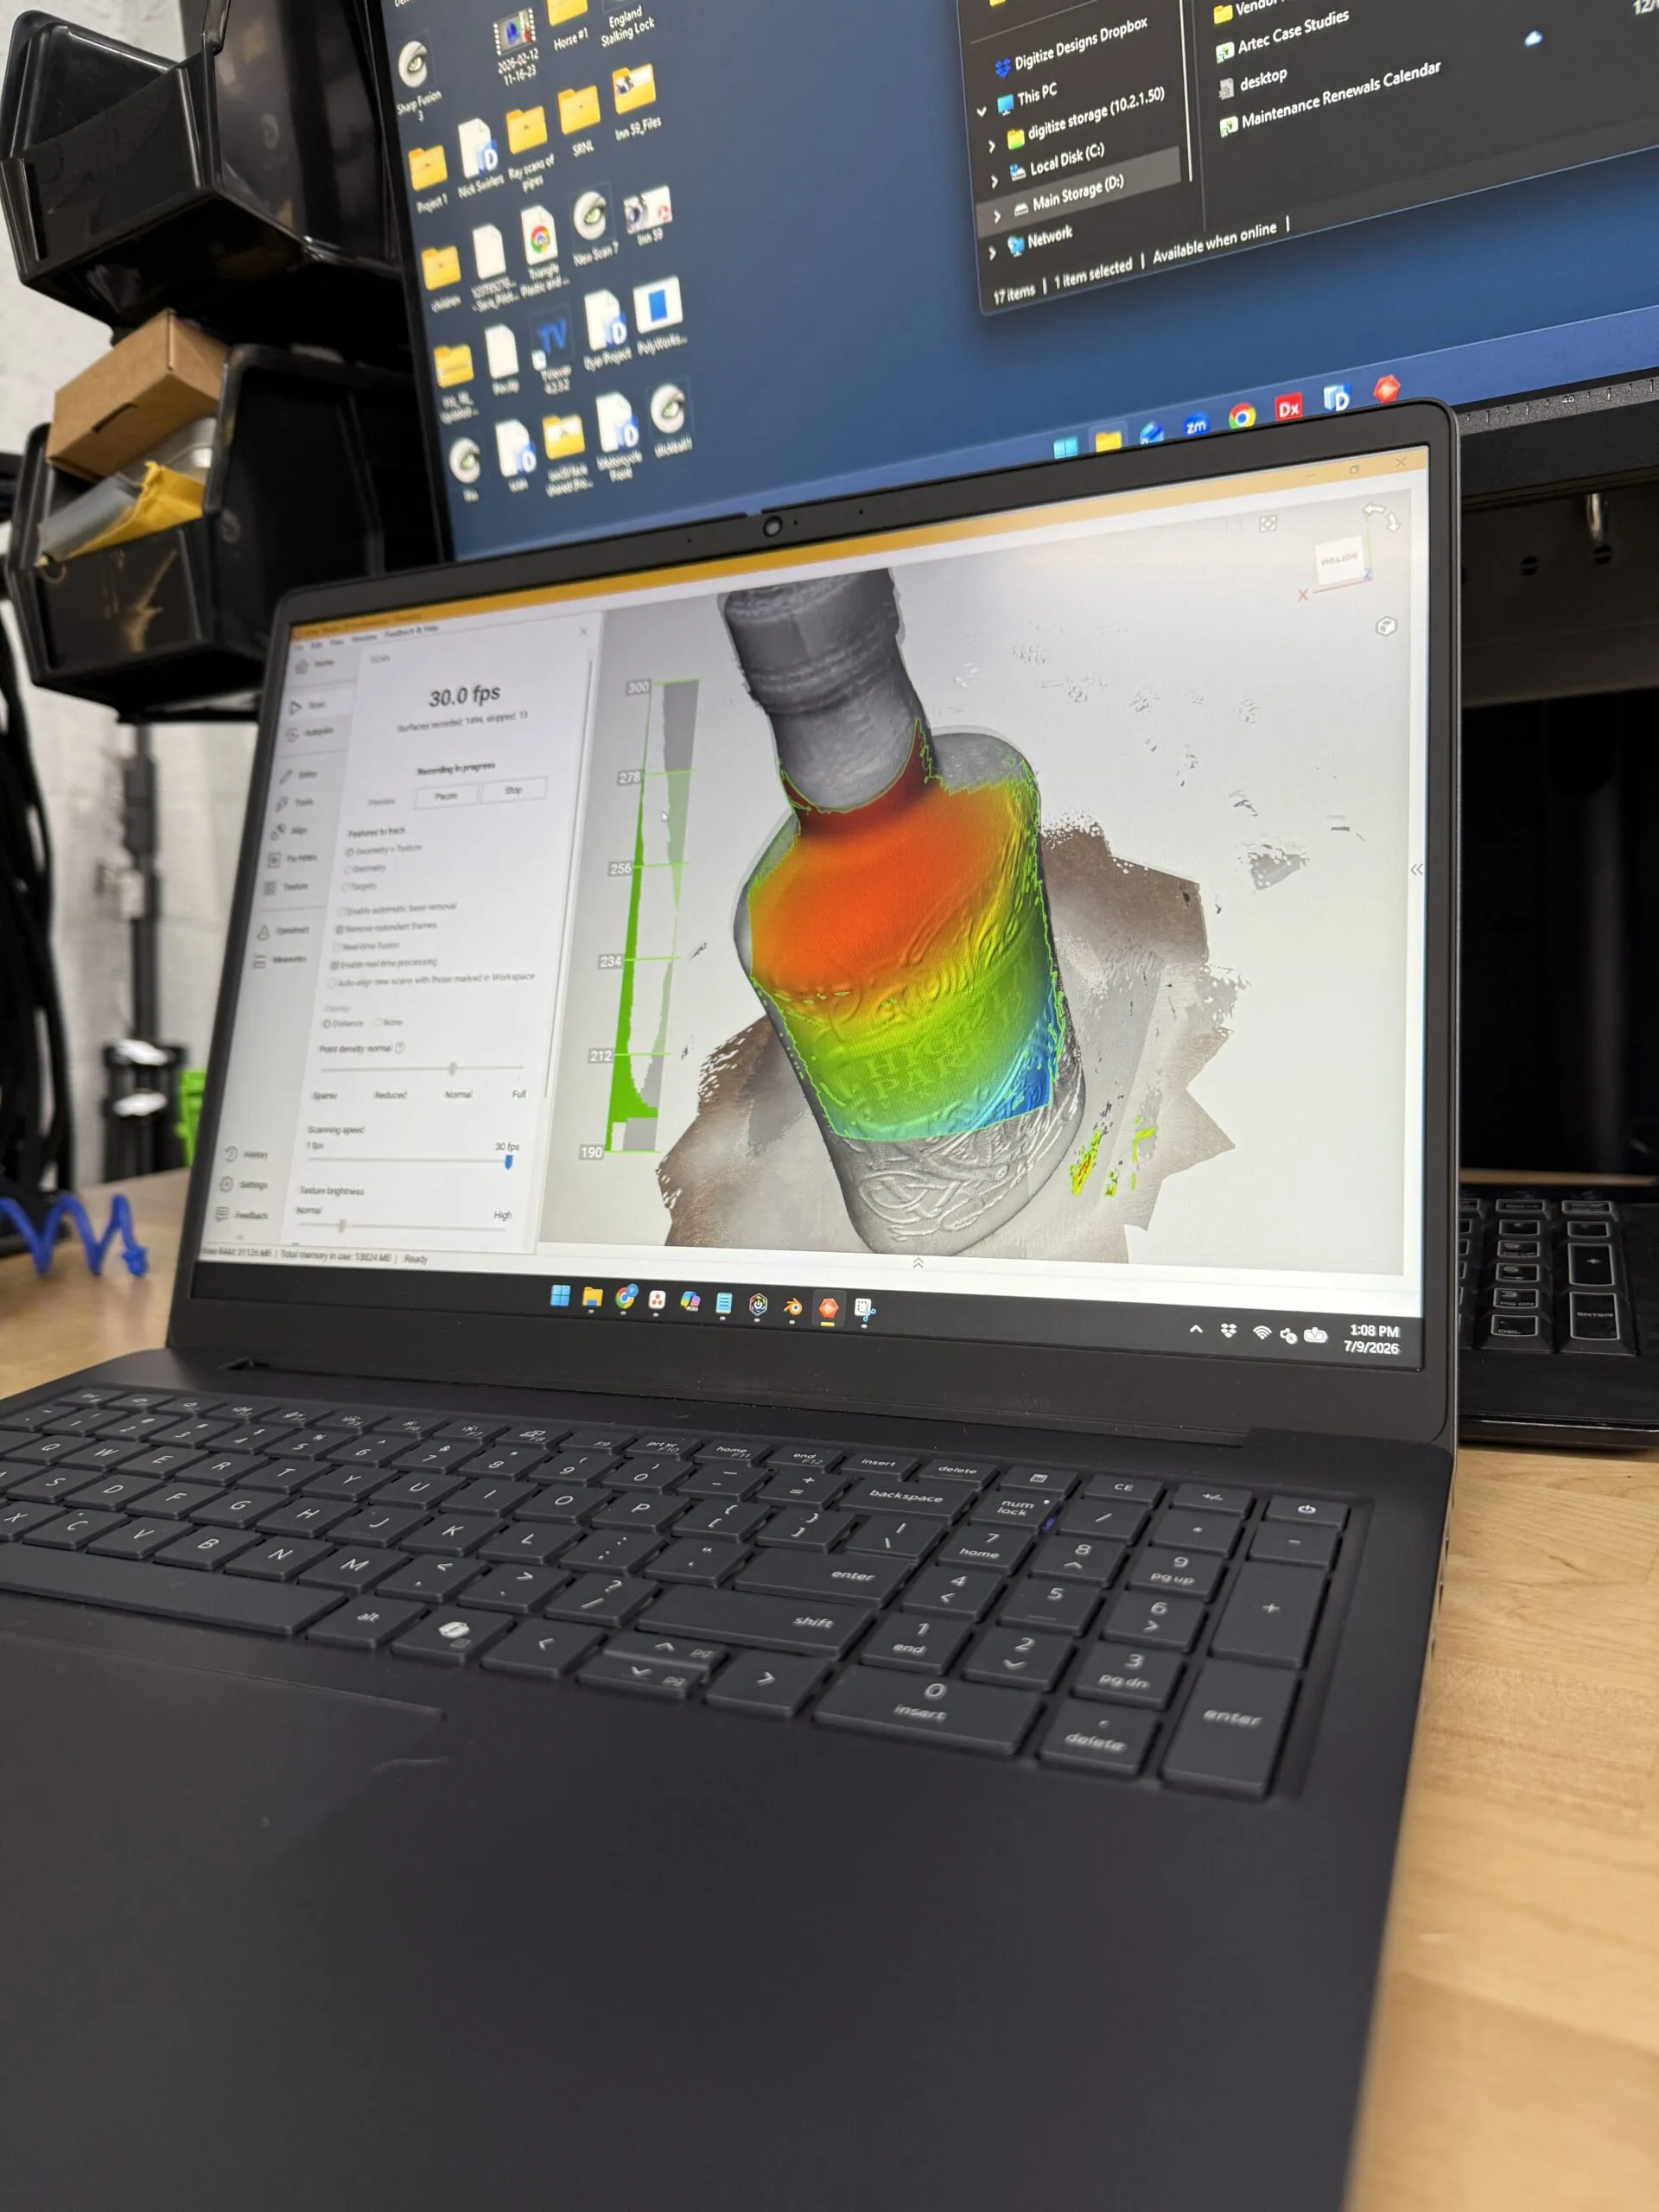
It’s a fair question, and the honest answer is “sometimes.” Vendors love to advertise spray-free scanning, and modern high-dynamic-range scanners genuinely can capture many surfaces that once demanded a coat. But spray-free is a spectrum, not a guarantee, and knowing where your part falls saves disappointment.
You can often scan without spray when the part is matte to semi-gloss, light to mid-toned, and you’re using a capable HDR scanner; when tolerances are loose enough to tolerate some surface noise; or when the part is dark but matte and your scanner has high sensitivity. You will almost always need spray on true mirror finishes, clear and transparent parts, deep glossy blacks, and any tight-tolerance inspection where surface noise would eat your accuracy budget. The rule of thumb our engineers use: if the surface throws a visible glare hot spot or you can see through it, reach for the spray.
Spray-free scanning is a real capability for the right part on the right scanner, but it is not a substitute for technique. The fastest path to a clean scan is matching the method to the surface, not forcing one approach onto every job.
There’s also a cost-and-time calculation. A thin coat of self-vanishing spray often produces a cleaner scan in one pass than fighting a marginal surface through three. When throughput matters, spraying can be the faster choice even when spray-free is technically possible.
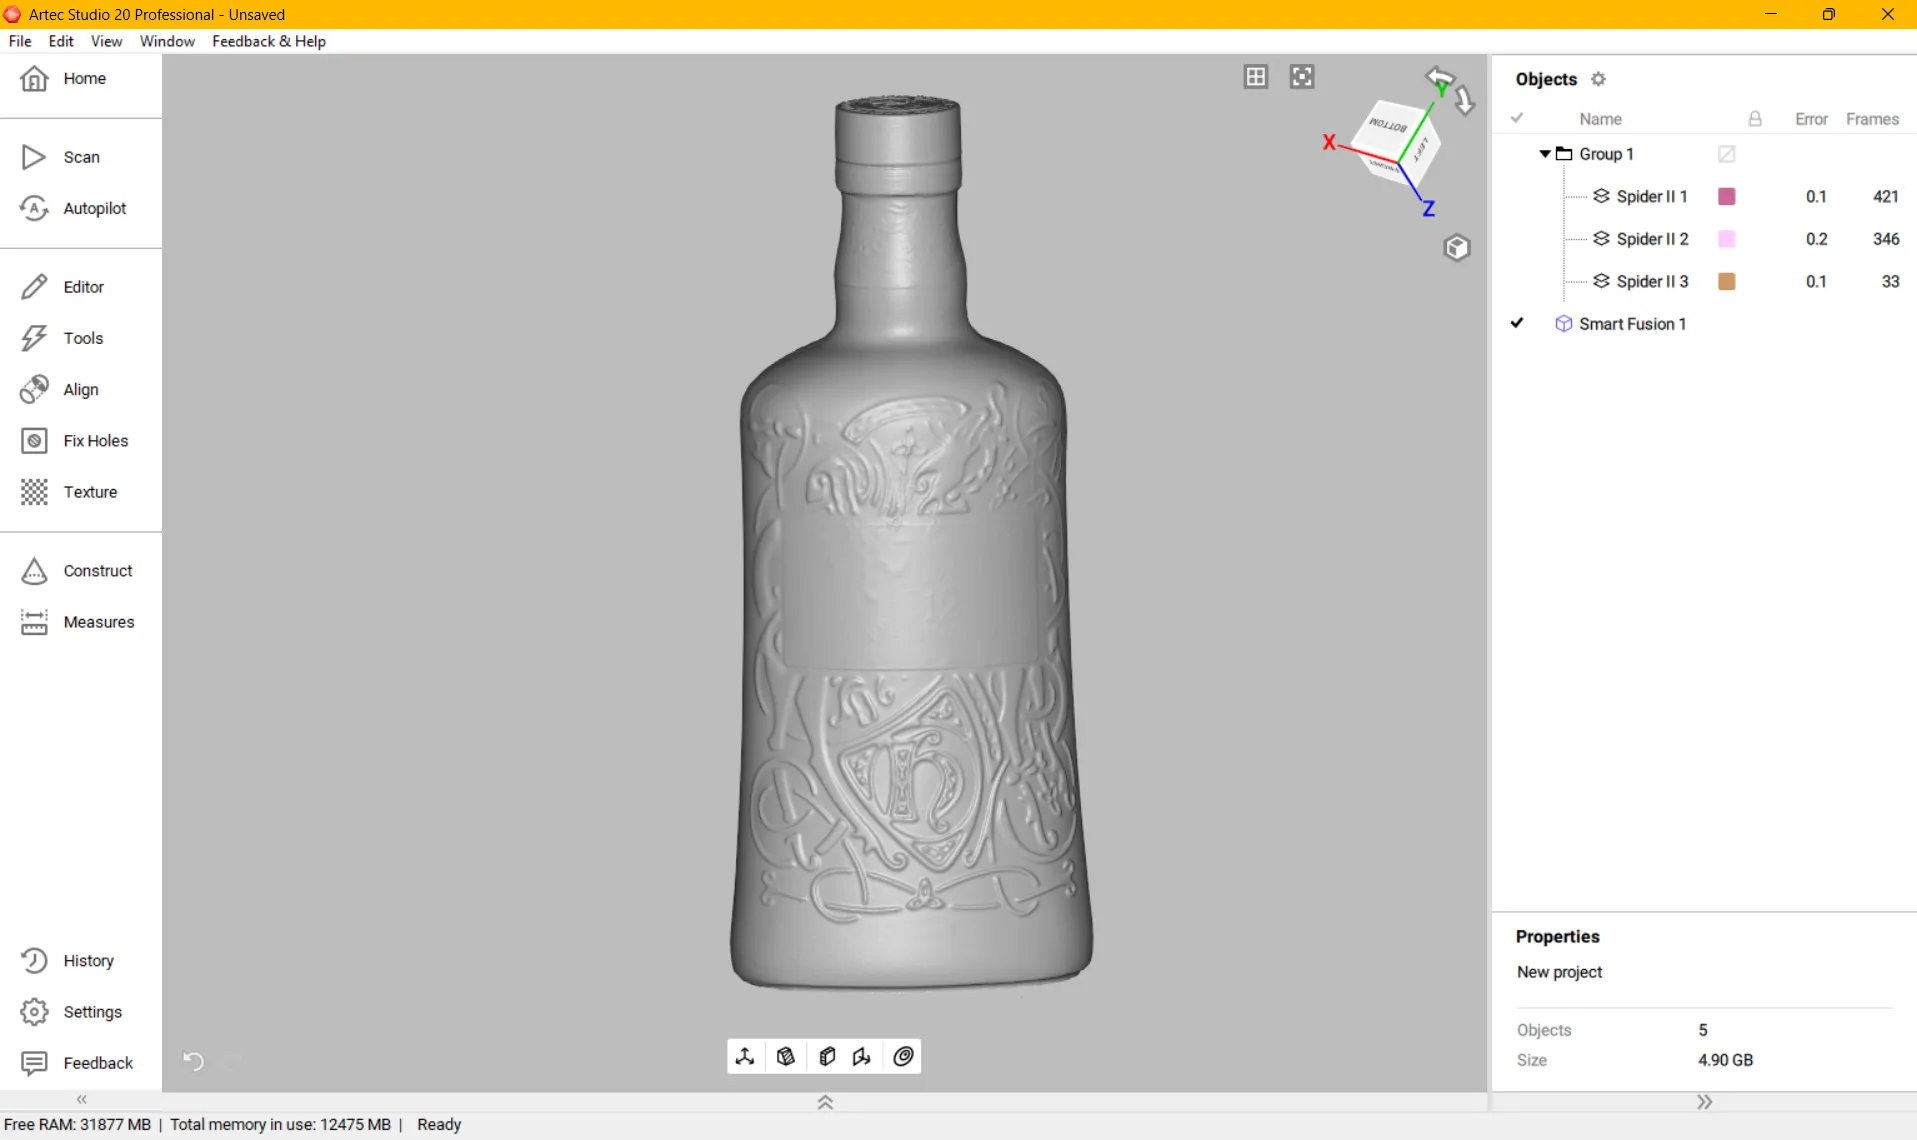
Pulling it together, here is the workflow practitioners follow when a challenging part lands on the bench. Run through it before you start scanning, not after the data comes back bad.
Follow this sequence and the parts that used to produce holey, noisy scans become routine. The combination of a good coating, smart use of targets, and the right scanner covers virtually every difficult material you’ll encounter in manufacturing and reverse engineering.
Difficult surfaces are exactly where experience pays off. Digitize Designs stocks the full line of AESUB vanishing scanning sprays, from everyday Blue to ultra-fine Diamond, alongside the high-resolution scanners and metrology software that make short work of chrome, glass, and matte black parts. If you’d rather hand the hard parts to specialists, our 3D scanning services team handles reflective, transparent, and dark materials every day for manufacturing, aerospace, and defense customers we work with.
Tell us what you’re scanning and the tolerances you need to hold, and we’ll recommend the right spray, target, and scanner combination, or scan the parts for you. Contact our team for a consultation, a quote, or a demo on your own challenging parts.
You have a part on the bench and no drawing for it. Or you have the drawing, and now you
A fender comes off the press and something is off. The hole pattern checks out on the CMM and every

For most of the twentieth century, a crime scene was preserved with a tape measure, a roll of film, and
If you have ever searched for a way to turn a physical object into a digital model, you have probably