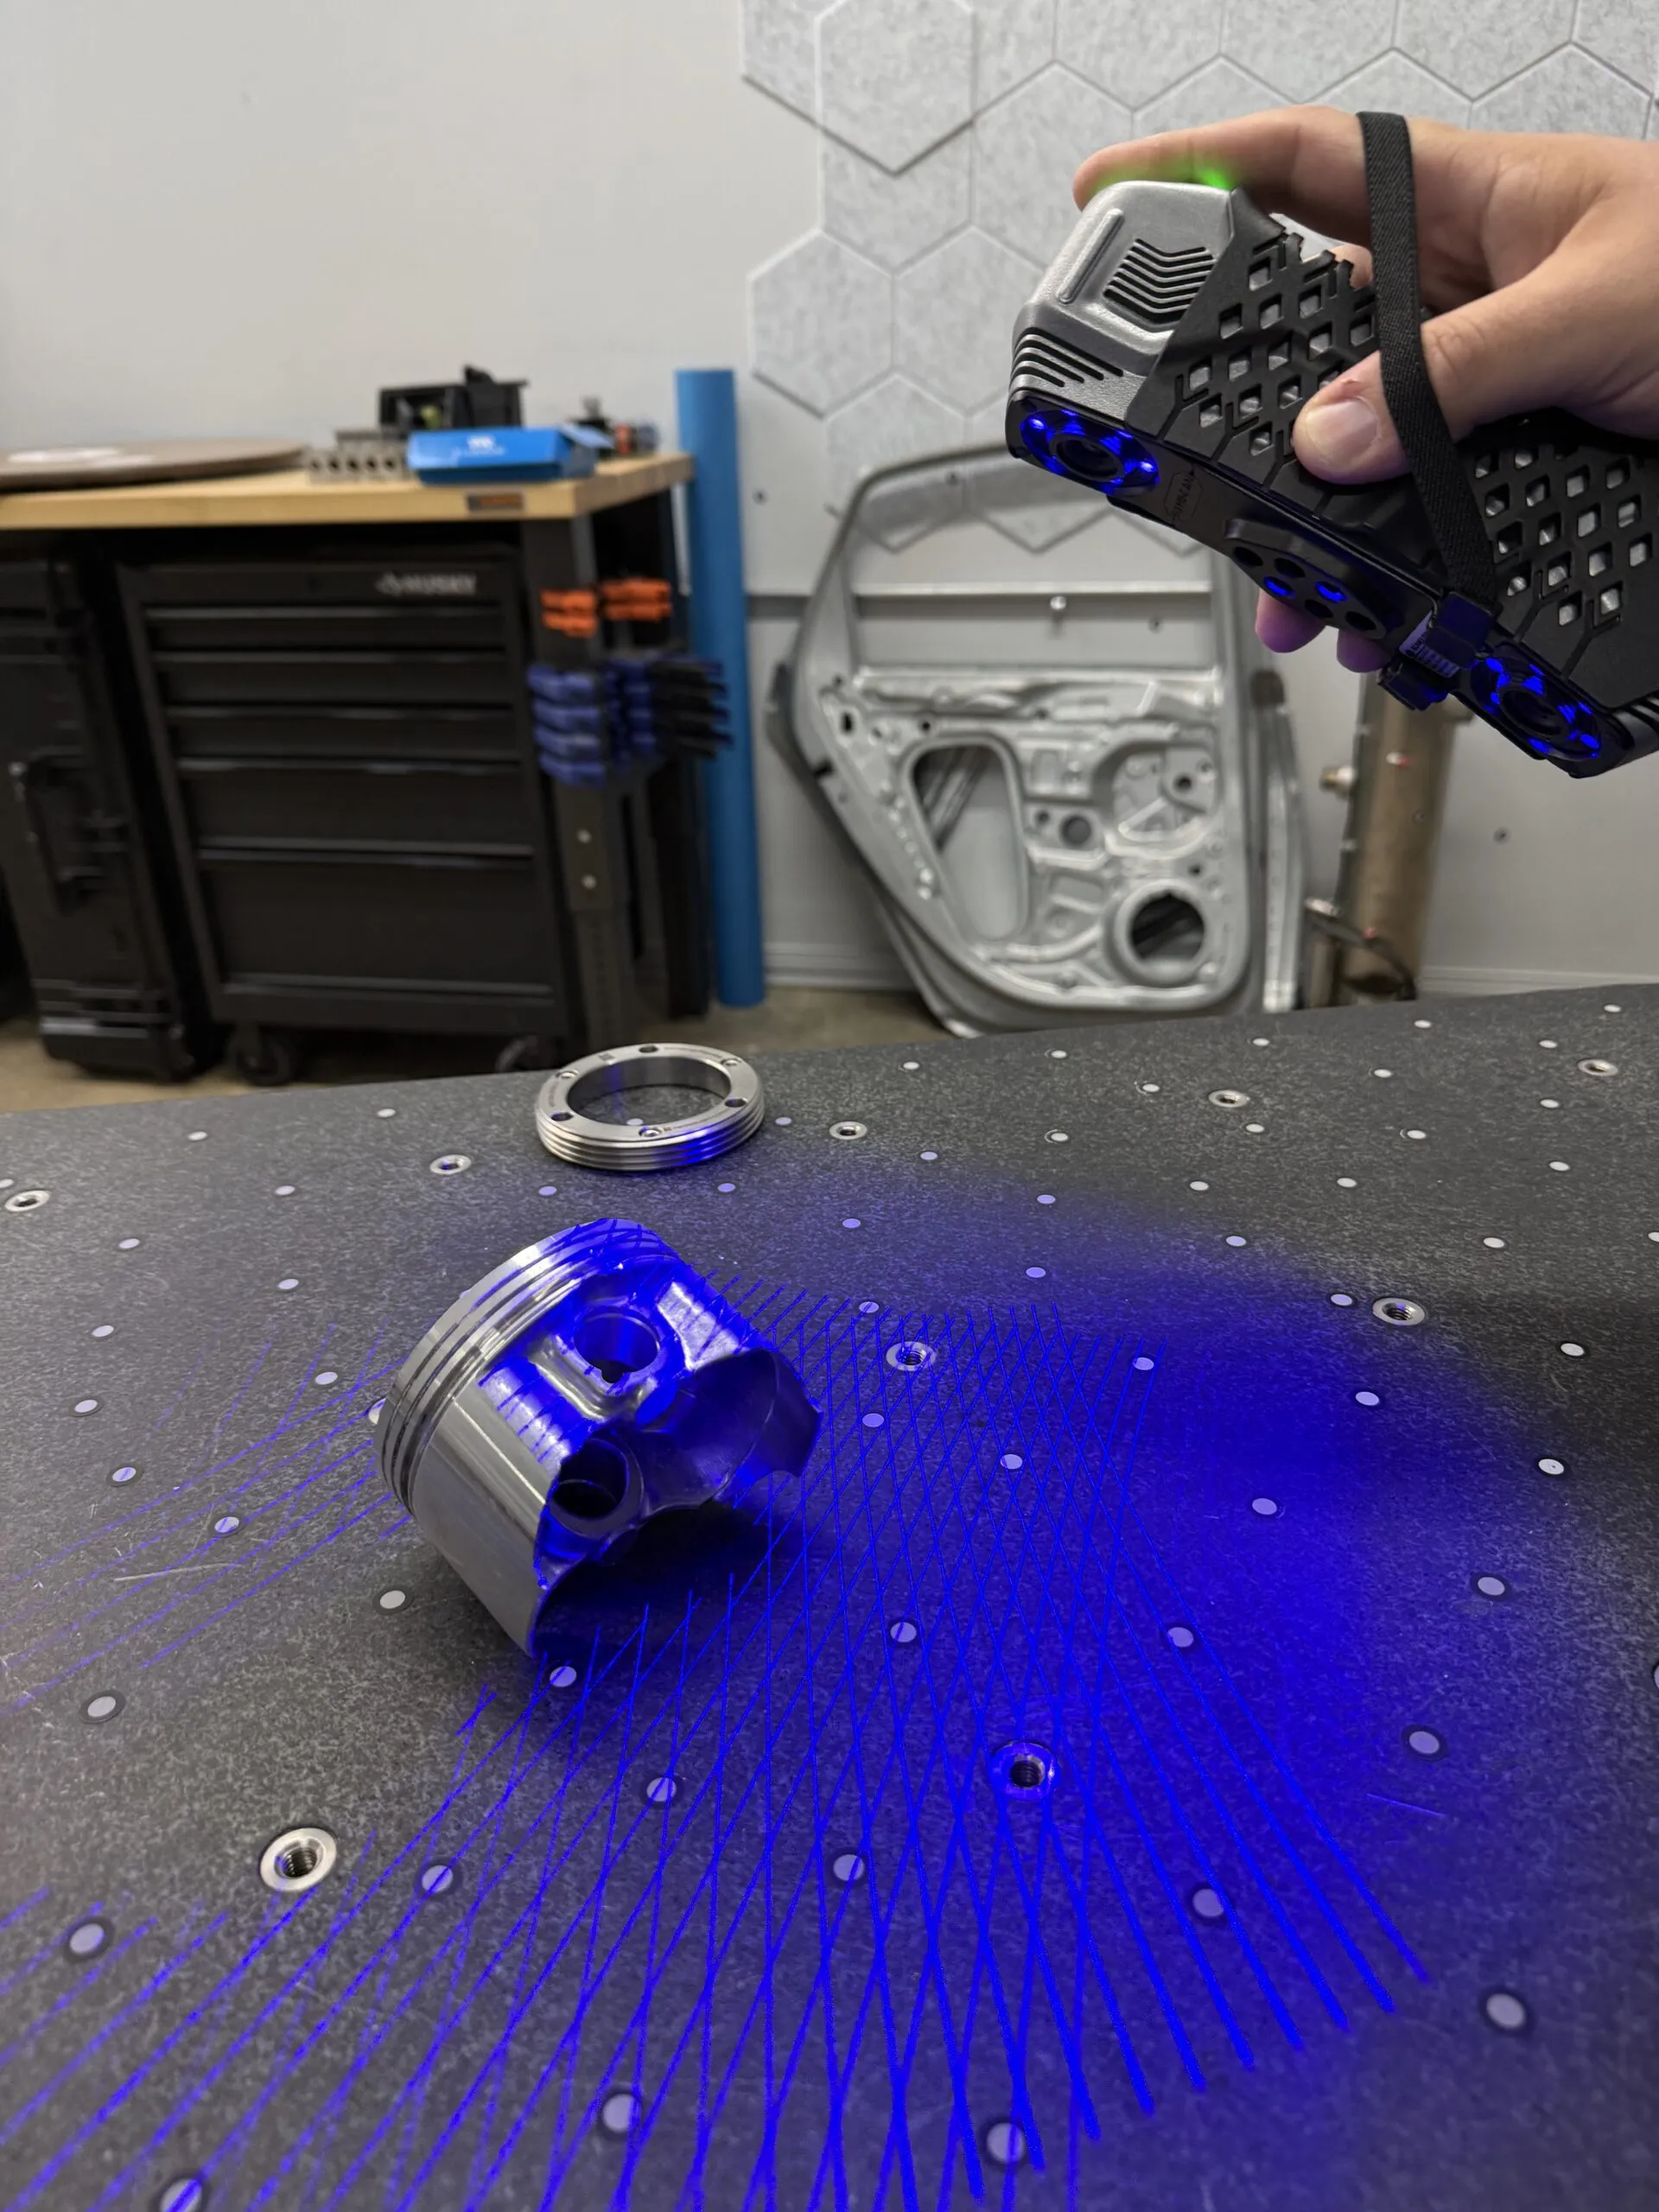
How Does 3D Scanning Work? A Beginner’s Guide to the Technology
You have a part on the bench and no drawing for it. Or you have the drawing, and now you

Almost every shiny, dark, or translucent part you put in front of an optical scanner refuses to cooperate. Light scatters, bounces, or passes straight through, and your point cloud comes back full of holes and noise. The fix is a thin, even matting coat, and the right 3D scanning spray makes the difference between a clean first capture and an afternoon of rework. This guide compares the AESUB vanishing line against traditional developer sprays, explains how temperature, humidity, and part size change what you should reach for, and breaks down the real per-scan cost.
Whether you run a handheld unit on the shop floor or a structured-light system in a metrology lab, the goal is the same: a uniform, controllable surface that the scanner can read accurately without permanently coating the part. Here is how to choose.
Optical 3D scanners, whether structured-light or laser, work by reading how a projected pattern lands on a surface. That model assumes the surface is matte and diffuse. Real parts rarely are. Machined aluminum, chrome trim, glossy injection-molded plastic, carbon fiber, glass, and clear resin all defeat the optics in their own way: specular highlights blow out the camera, dark surfaces return too little light, and transparent material lets the pattern travel below the surface so the scanner triangulates the wrong depth.
A thin matting coat solves all of these at once. It converts a problem surface into a consistent, light-diffusing one so the sensor captures dense, low-noise data on the first pass. The payoff shows up everywhere downstream:
This is true whether the data feeds a reverse-engineering project, a CAD rebuild, or a dimensional inspection. If you are running 3D scanning services in-house or capturing parts for reverse engineering, spray is not an optional accessory. It is part of the standard workflow for any reflective or transparent geometry.
For years the default answer was a penetrant-inspection developer spray, foot powder, or a chalk-and-alcohol slurry. They work in the narrow sense that they coat the part and kill reflections, but they were never designed for metrology. Two issues in particular make them a poor fit for precision scanning.
Developer sprays are pigment-based: they leave a layer of titanium dioxide or similar particles that does not go anywhere on its own. After the scan you have to clean every coated surface: wiping, blowing out, or solvent-washing each part. On simple geometry that is a nuisance. On parts with blind holes, fine threads, internal channels, or textured surfaces it is genuinely difficult, and trapped white powder can contaminate downstream processes, assembly, or the part’s intended function.
For anything food-contact, medical, or going back into service, residue is a hard stop. You cannot hand a customer a turbine blade or a surgical fixture dusted in inspection powder. The cleanup labor alone often costs more than the spray, and aggressive solvents create their own handling and disposal headaches.
Every coat you add sits on top of the true surface, so coat thickness is measurement error. Pigment developer sprays are hard to apply thinly and evenly: they tend to build up, run, or pool, and a heavy hand can add tens of microns of false material. When you are inspecting to tolerances in the 25–50 micron range, an uncontrolled coat can swallow your entire tolerance band before the scanner ever sees the part.
The thickness is also unpredictable from spot to spot, which biases the surface non-uniformly and is nearly impossible to compensate for in software. Purpose-built vanishing sprays were engineered specifically to solve this: an extremely thin, even layer with a known, repeatable thickness, and then it disappears.
AESUB pioneered the self-vanishing scanning spray category, and a 3D scanning spray from the AESUB family behaves completely differently from a developer spray. The coating sublimates: it evaporates off the part over a defined window of time, leaving zero residue and nothing to clean. You spray, scan, and walk away; an hour or so later the part is bare again. The line is differentiated mainly by how long the coat lasts and how fine the particle size is, so you match the product to the job.
ProductVanishing time (typical)PigmentBest for AESUB Blue~4 hours, fully self-vanishingPigment-basedQuick captures, single parts, general shop use AESUB Orange~1–4 daysPigment-basedLong sessions, batches, large or many parts AESUB Violet~24 hours, fully self-vanishingPigment-freeFood-contact, medical, sensitive surfaces AESUB DiamondSelf-vanishingUltra-fine (very thin coat)High-resolution scans, small/fine detail
Note that exact vanishing times shift with temperature, humidity, and coat thickness. Treat the figures above as practical baselines, not guarantees. Below is how each member of the line fits a real workflow.
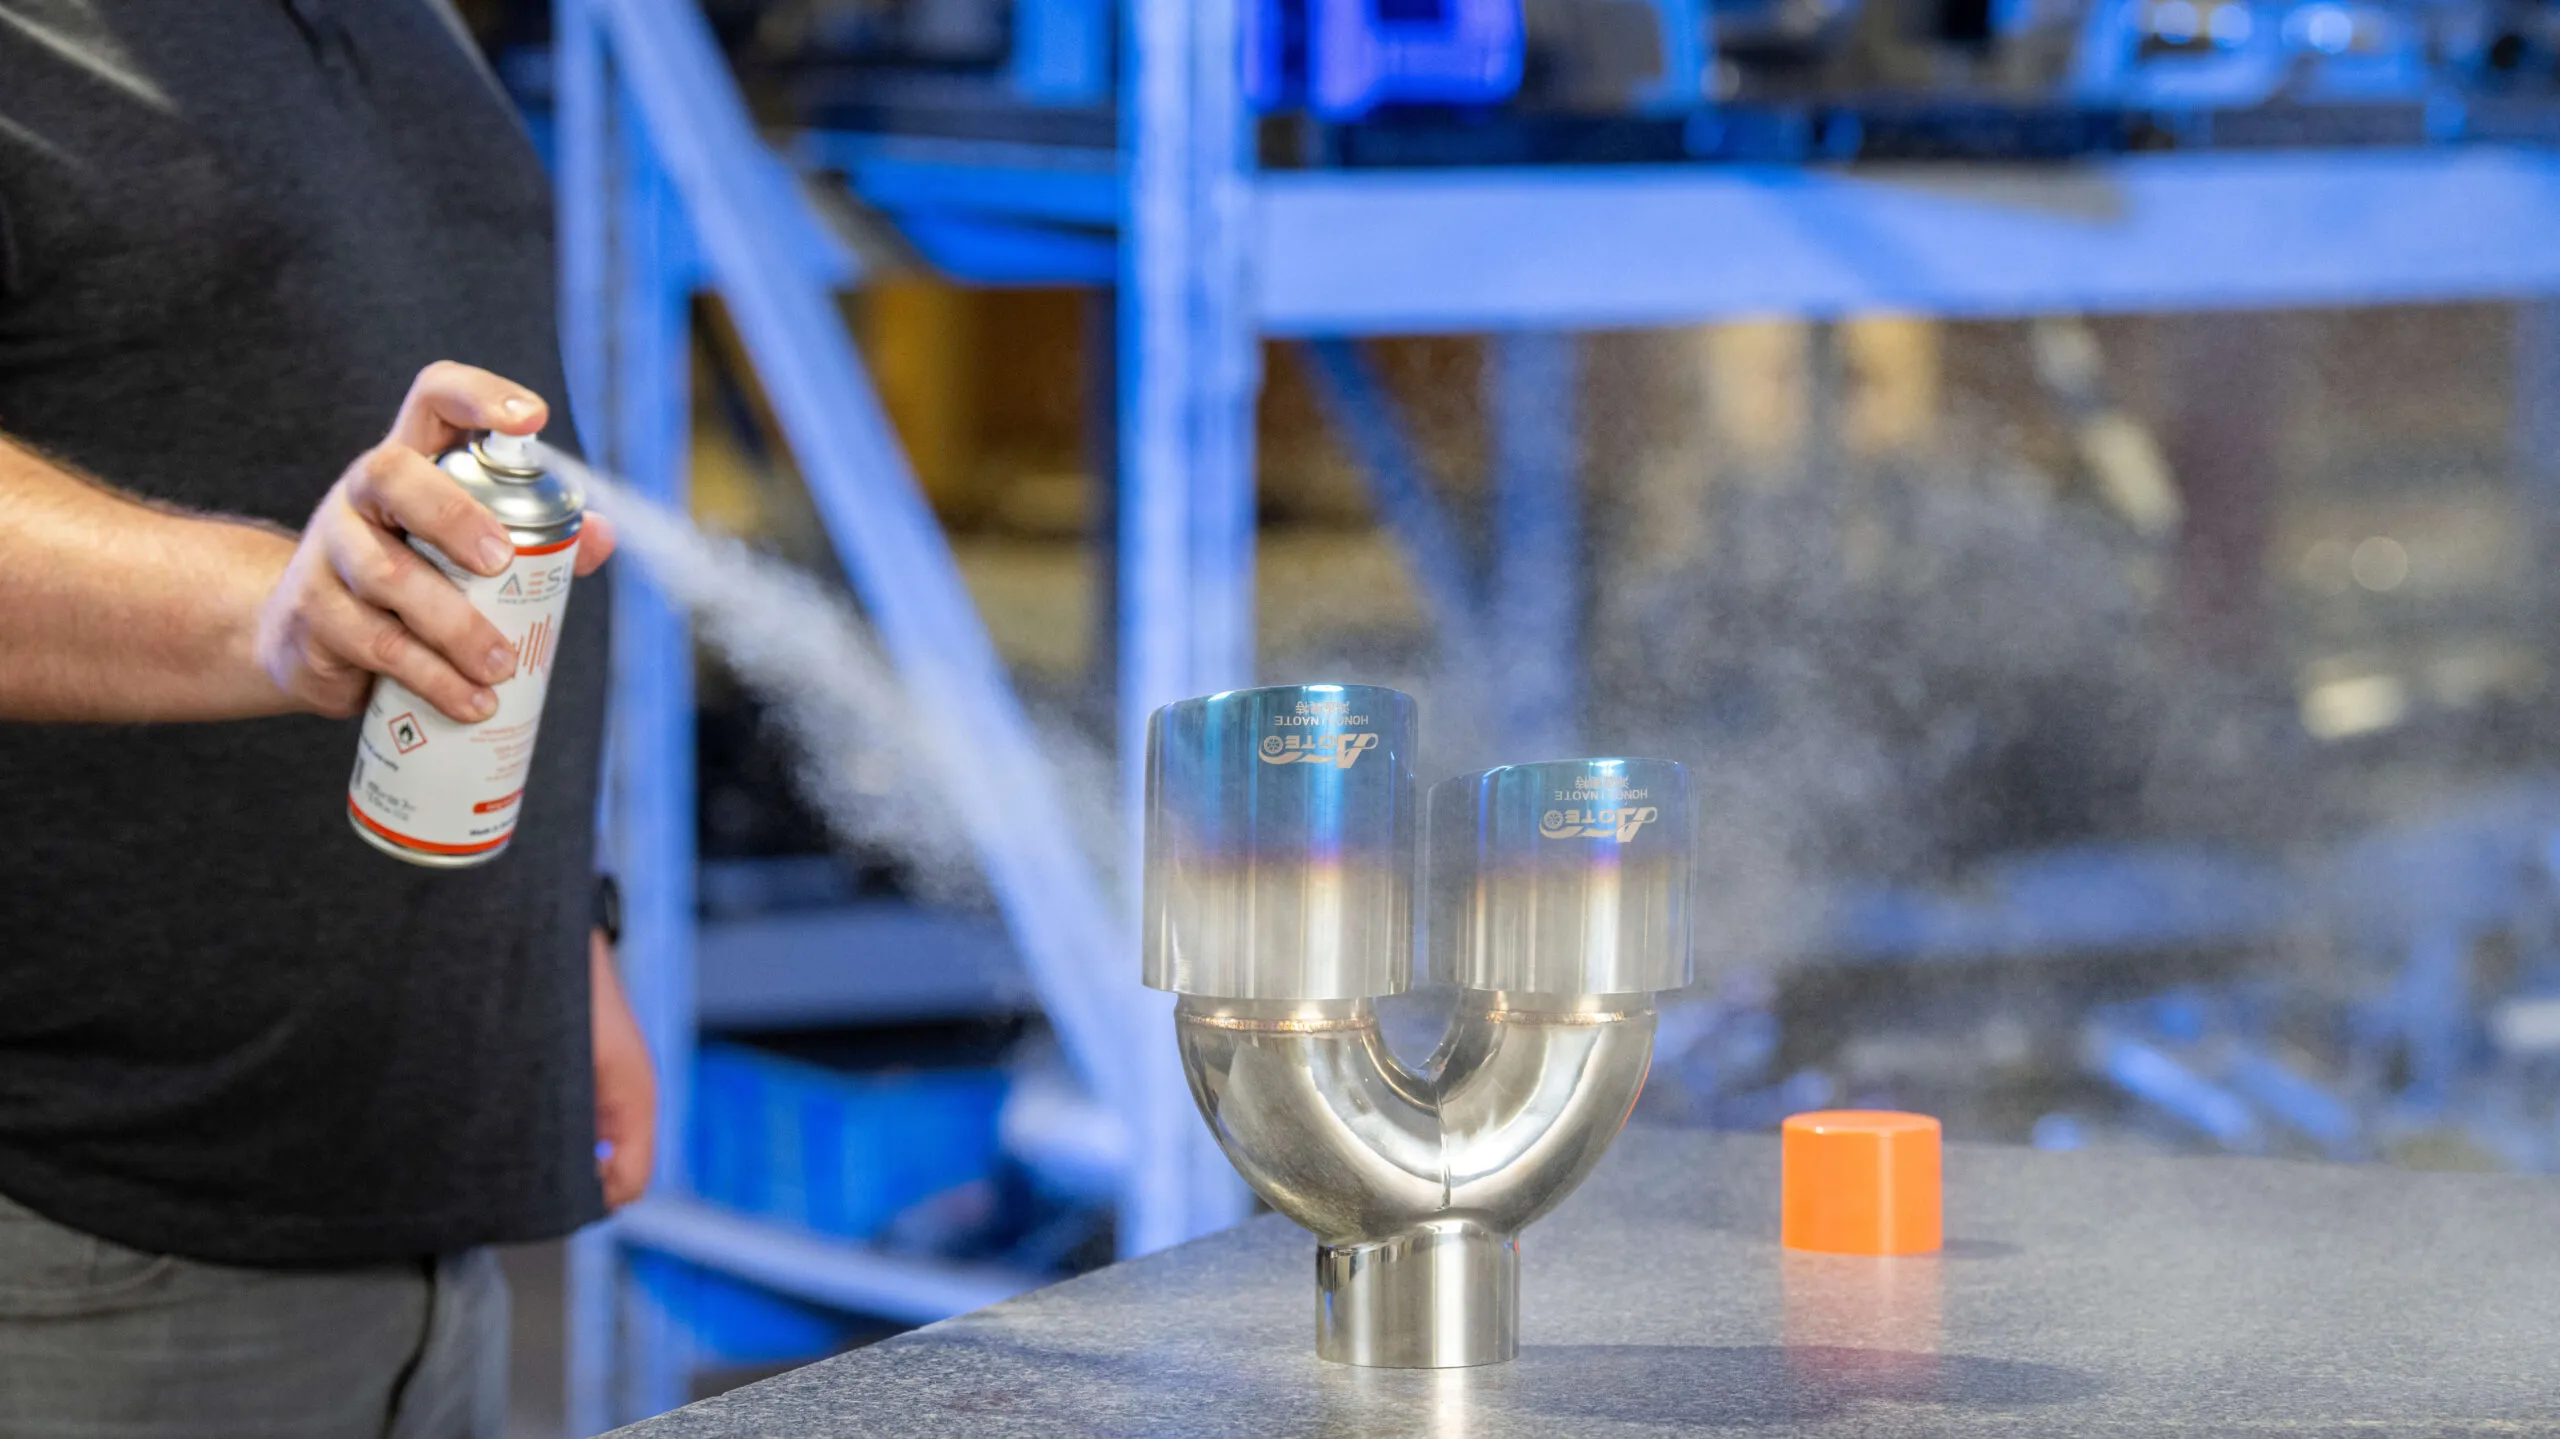
AESUB Blue is the everyday workhorse and the fastest to disappear, typically vanishing within about four hours. The blue tint is intentional: it lets you see exactly where you have already sprayed so you can lay down an even coat and spot any gaps before scanning. For single parts and quick turnarounds, the bulk of routine shop and lab work, Blue is the default choice. You get a thin, uniform matte layer, capture your data, and the part is clean again before the next shift without any wiping.
Blue’s short window is a feature for one-and-done captures and a limitation for marathon sessions. If you are scanning a single bracket or housing, it is ideal. If you are working through a pallet of parts over a full day, the early-coated parts may start clearing before you reach them, which is exactly the gap Orange fills.
AESUB Orange is formulated for endurance. Instead of clearing in hours it holds its matte coat for roughly one to four days, which makes it the right pick when a job spans a long session, a full batch of parts, or a large component you cannot finish in a single sitting. It is also useful when a part has to travel between stations: coat it once, move it through scanning and review, and trust that the surface is still readable hours later.
Because the coat persists, Orange does need to be removed when you are done if you cannot wait for it to vanish on its own; a wipe-down or the appropriate cleaner handles that. The trade-off is straightforward: you gain working time and lose the walk-away convenience of the faster-clearing products. For high-volume inspection or large-format reverse engineering, that trade is usually worth it.
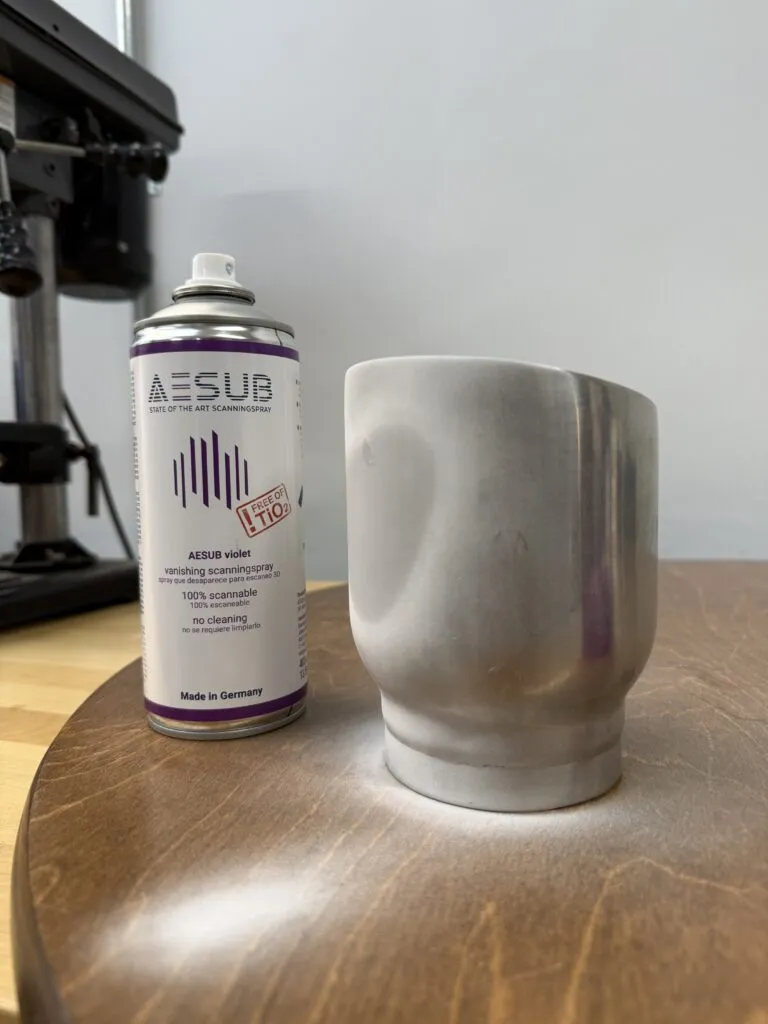
AESUB Violet is the pigment-free member of the line, and that one property opens up applications the others cannot touch. With no pigment particles, it is suited to food-contact equipment, medical and dental work, and any surface where you cannot risk leaving particulate behind. It still self-vanishes, typically within about a day, so you get the clean, residue-free workflow without introducing titanium dioxide or similar fillers to a sensitive part. Digitize Designs stocks AESUB Violet at $40.50, with bulk sizes available for shops that go through it regularly.
Violet is also the conservative choice when you simply do not know what a part can tolerate, or when a customer specifies no pigment contact. If your work touches regulated industries (medical devices, food and beverage equipment, pharmaceutical tooling), it is worth standardizing on Violet so the question of residue never comes up. Pair it with a calibrated metrology and inspection process and you have a clean, defensible chain from part to report.
AESUB Diamond rounds out the line with an ultra-fine particle size and the thinnest coat of the family. When you are chasing fine detail (small parts, sharp edges, fine surface texture, or sub-micron-class feature work on a high-resolution scanner), coat thickness becomes the dominant error source, and Diamond minimizes it. It is the spray to reach for when you are using something like the Artec Spider II on small, detailed geometry and every micron of added material matters.
For routine work Diamond is overkill, and most operators will not need it day to day. But for the jobs where resolution is the whole point, the finer coat preserves crisp edges and delicate features that a heavier spray would soften.
Picking the right 3D scanning spray is not only about the product. It is about the conditions you spray in and the parts you are coating. Two environmental factors and one part-geometry factor drive most of the decision.
Self-vanishing sprays sublimate, and sublimation is sensitive to ambient conditions. In a warm, dry room the coat clears faster; in a cool, humid one it lingers, sometimes well past the nominal time. That cuts both ways. A climate-controlled metrology lab held around 20 °C at moderate humidity gives you predictable, repeatable behavior. A hot shop floor in summer or a cold receiving dock in winter will not.
The practical rule: if your environment is warm and you need the coat to last through a long capture, lean toward the longer-lasting Orange; if it is cool or humid and a fast product is clearing too slowly for your liking, that is normal. Give it time or move air over the part. Always run a quick test coat on a scrap area before committing to a full session in an unfamiliar environment, especially near temperature extremes.
Big parts need more material and more time, which changes both the product and the quantity you stock. A single can goes a long way on small components but disappears quickly across a large casting or a full assembly. For large or numerous parts, the longer-lasting Orange keeps the first-coated areas readable while you work across the rest, and buying bulk sizes keeps the per-can cost down on high-volume jobs.
If you are capturing large objects with a wireless handheld like the Artec Leo or a tracker-based NimbleTrack system, plan your spray around how long the full capture will take, not just how shiny the surface is.
The spray is only as good as the technique. The single most common mistake is applying too much: a thick, wet coat adds error, runs, and takes longer to vanish. The goal is the thinnest continuous matte layer that kills the reflection and nothing more.
For deep recesses, internal features, or intricate geometry, angle the can to reach surfaces the scanner needs while avoiding pooling in cavities. If a coat goes on too heavy, it is usually better to let it vanish and redo it than to scan through an uneven layer. Consistent technique here directly improves the data you feed into tools like Geomagic Design X for scan-to-CAD or Geomagic Control X for inspection. Clean input is the cheapest accuracy you will ever buy.
Vanishing sprays are aerosols, so treat them like any other shop aerosol. Use them in a ventilated space, avoid open flame and ignition sources, and follow the safety data sheet for the specific product. Wear eye protection and avoid prolonged skin contact. The big advantage over pigment developers is on the back end: because the coat sublimates completely, you avoid the powder cleanup, solvent washing, and residue disposal that traditional sprays demand.
For storage, keep cans upright in a cool, dry place out of direct sunlight and away from heat. Aerosols should not be left in a hot vehicle or near furnaces. Respect the manufacturer’s shelf life; an old can can clog or spray unevenly, which undermines the thin, consistent coat you are after. If you buy bulk to lower per-scan cost, rotate stock so you use older cans first and keep your supply within its rated life. A clogged nozzle is usually a sign the can was stored or shaken improperly rather than a defect.
Spray feels like a small line item until you scale it, so it is worth doing the math. The honest way to budget is per scan, not per can. A standard can covers a usable surface area that translates into a number of parts depending on part size and how heavy a hand you have. On typical small-to-medium parts with good technique, the spray cost per scan often lands in the low single-digit-dollar range, a rounding error next to the labor and machine time of a re-scan.
The more important comparison is total cost, not sticker price:
When you add up operator time, the per-scan cost of a quality vanishing spray is almost always lower than the all-in cost of a cheaper developer once cleanup and rework are counted. For a shop running daily scans, standardizing on the right AESUB product and buying in bulk is the straightforward path to predictable, low per-scan spend.
Choosing the right 3D scanning spray comes down to matching vanishing time, pigment, and coat fineness to your parts and environment: Blue for fast everyday captures, Orange for long sessions and big parts, Violet for food-safe and medical work, and Diamond for ultra-fine detail. We stock the full AESUB line, including bulk sizes and frame assembly tools, so you can buy exactly what your workflow needs.
If you would rather hand off the parts entirely, our team also provides full 3D scanning, CAD modeling, and metrology services, and we are happy to advise on spray selection alongside scanner and software choices. Contact us for a quote or a quick consultation, and we will help you dial in the right spray and process for your application.
You have a part on the bench and no drawing for it. Or you have the drawing, and now you
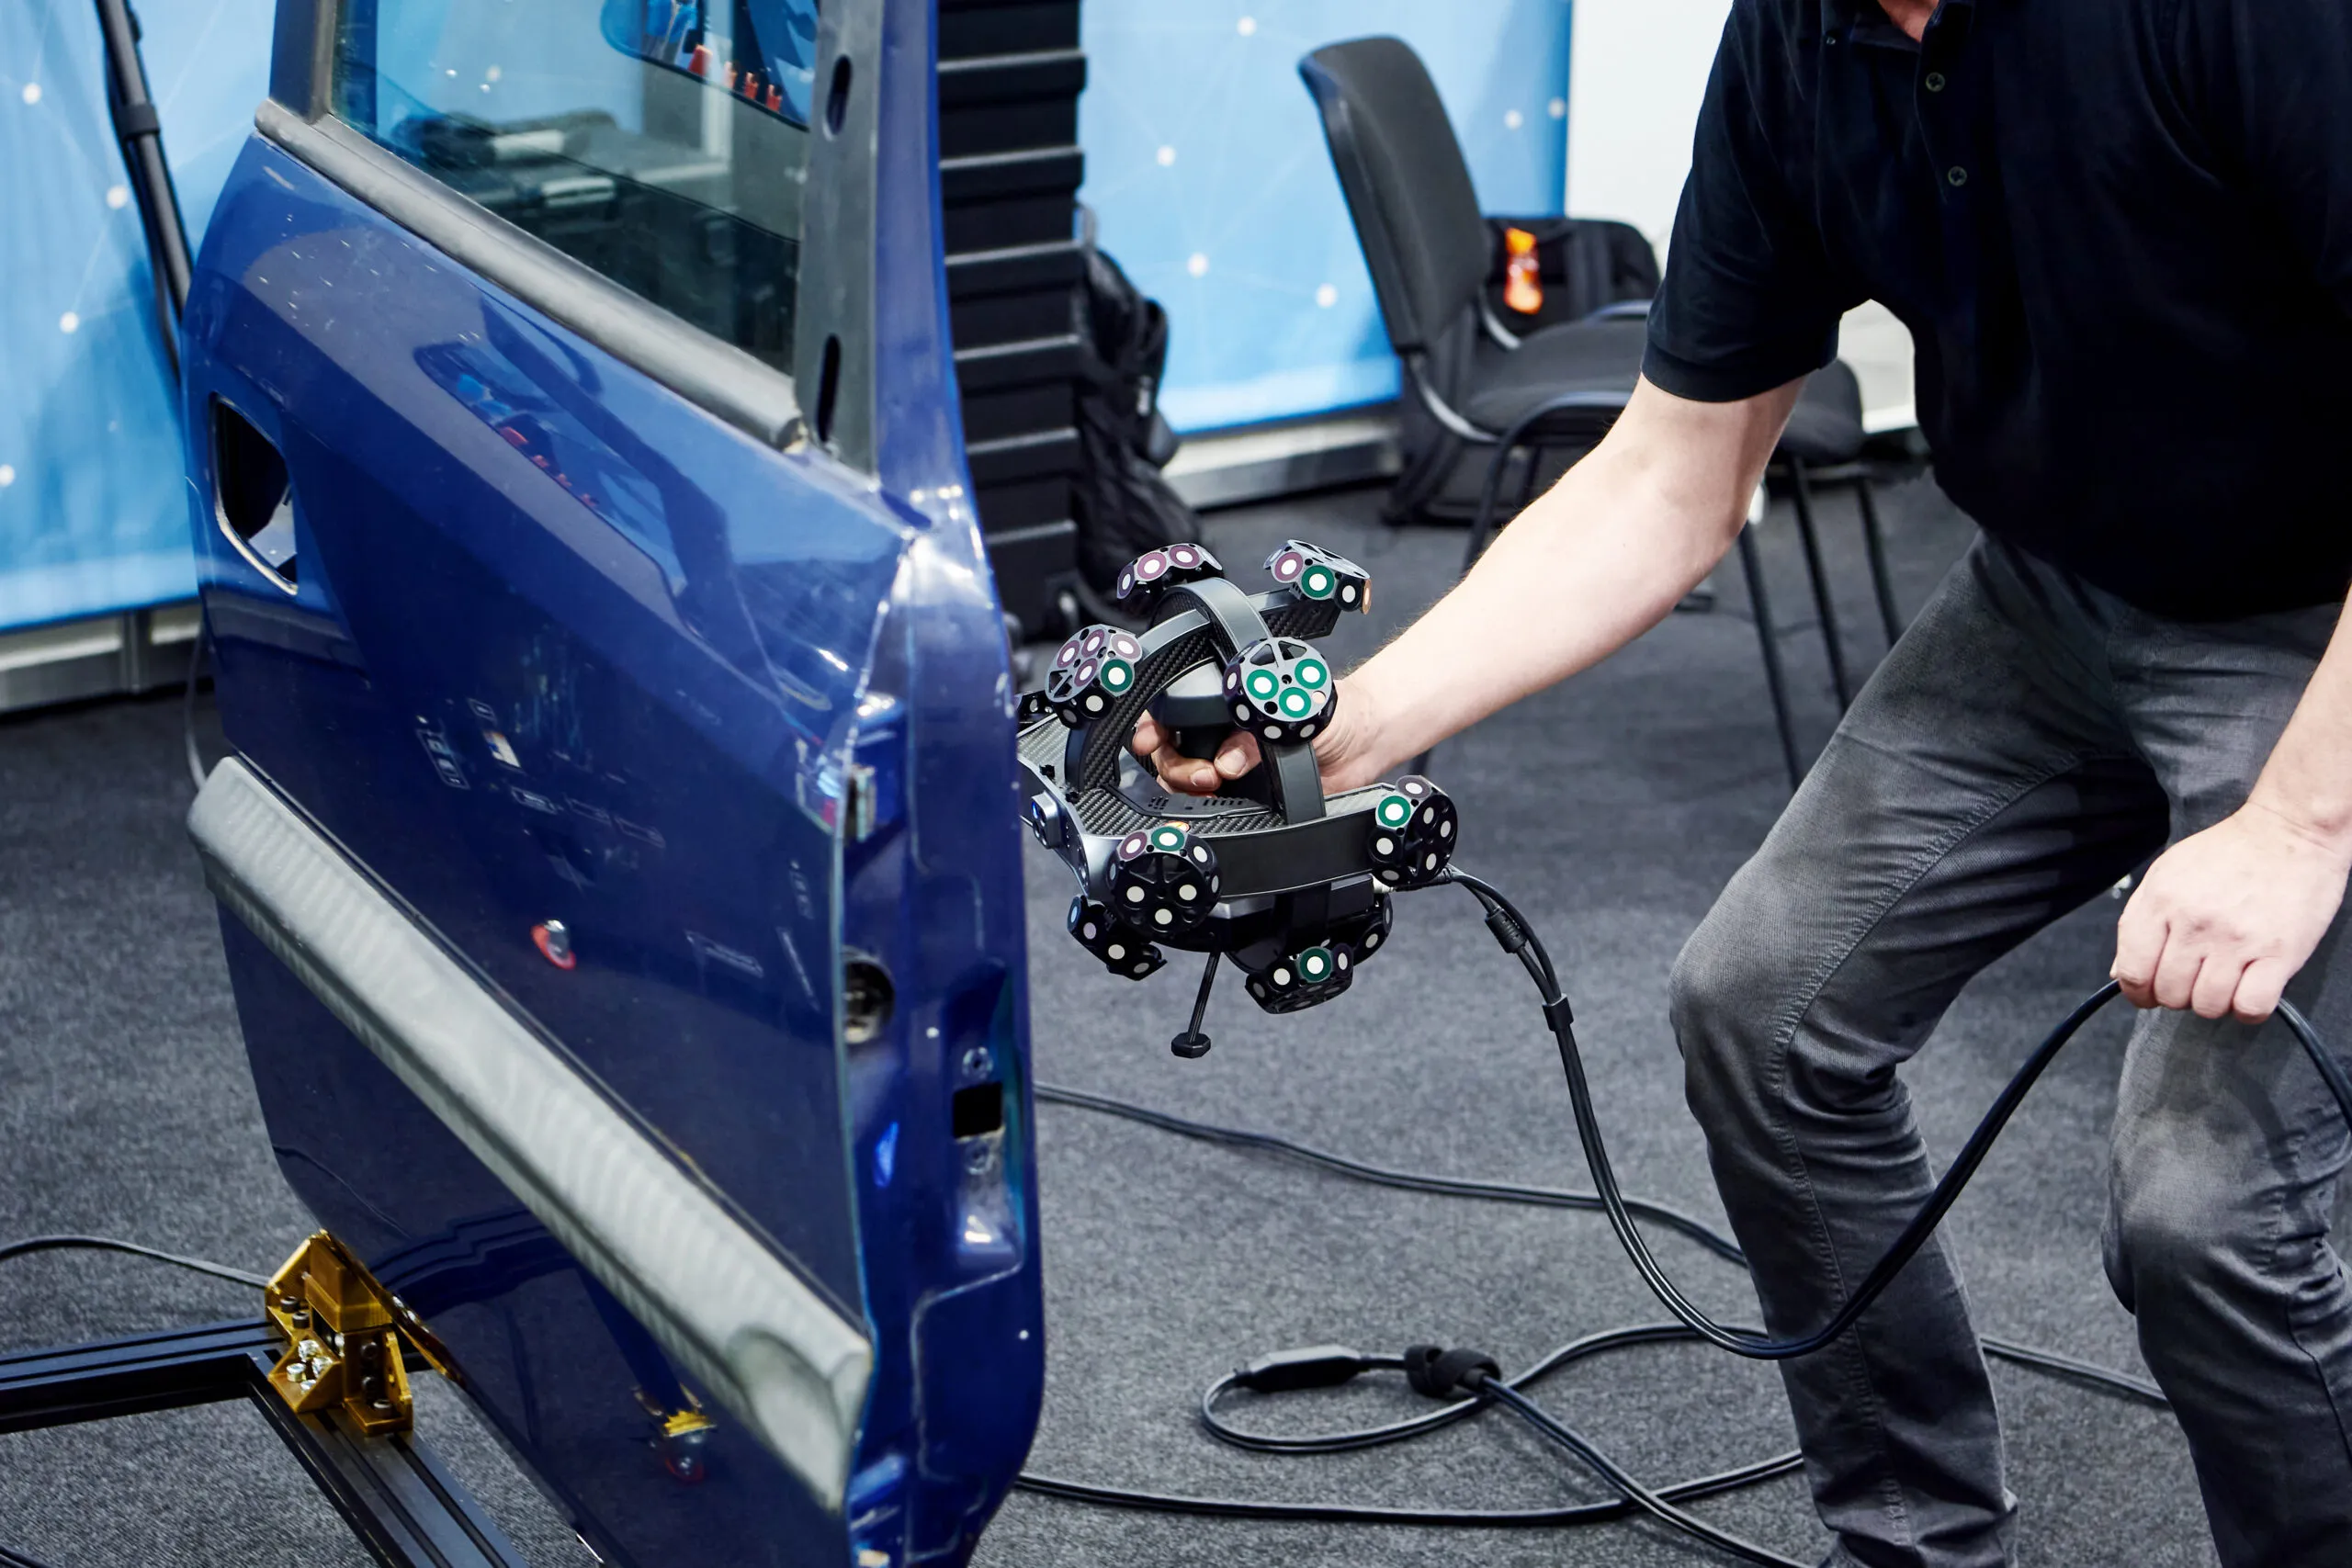
A fender comes off the press and something is off. The hole pattern checks out on the CMM and every

For most of the twentieth century, a crime scene was preserved with a tape measure, a roll of film, and
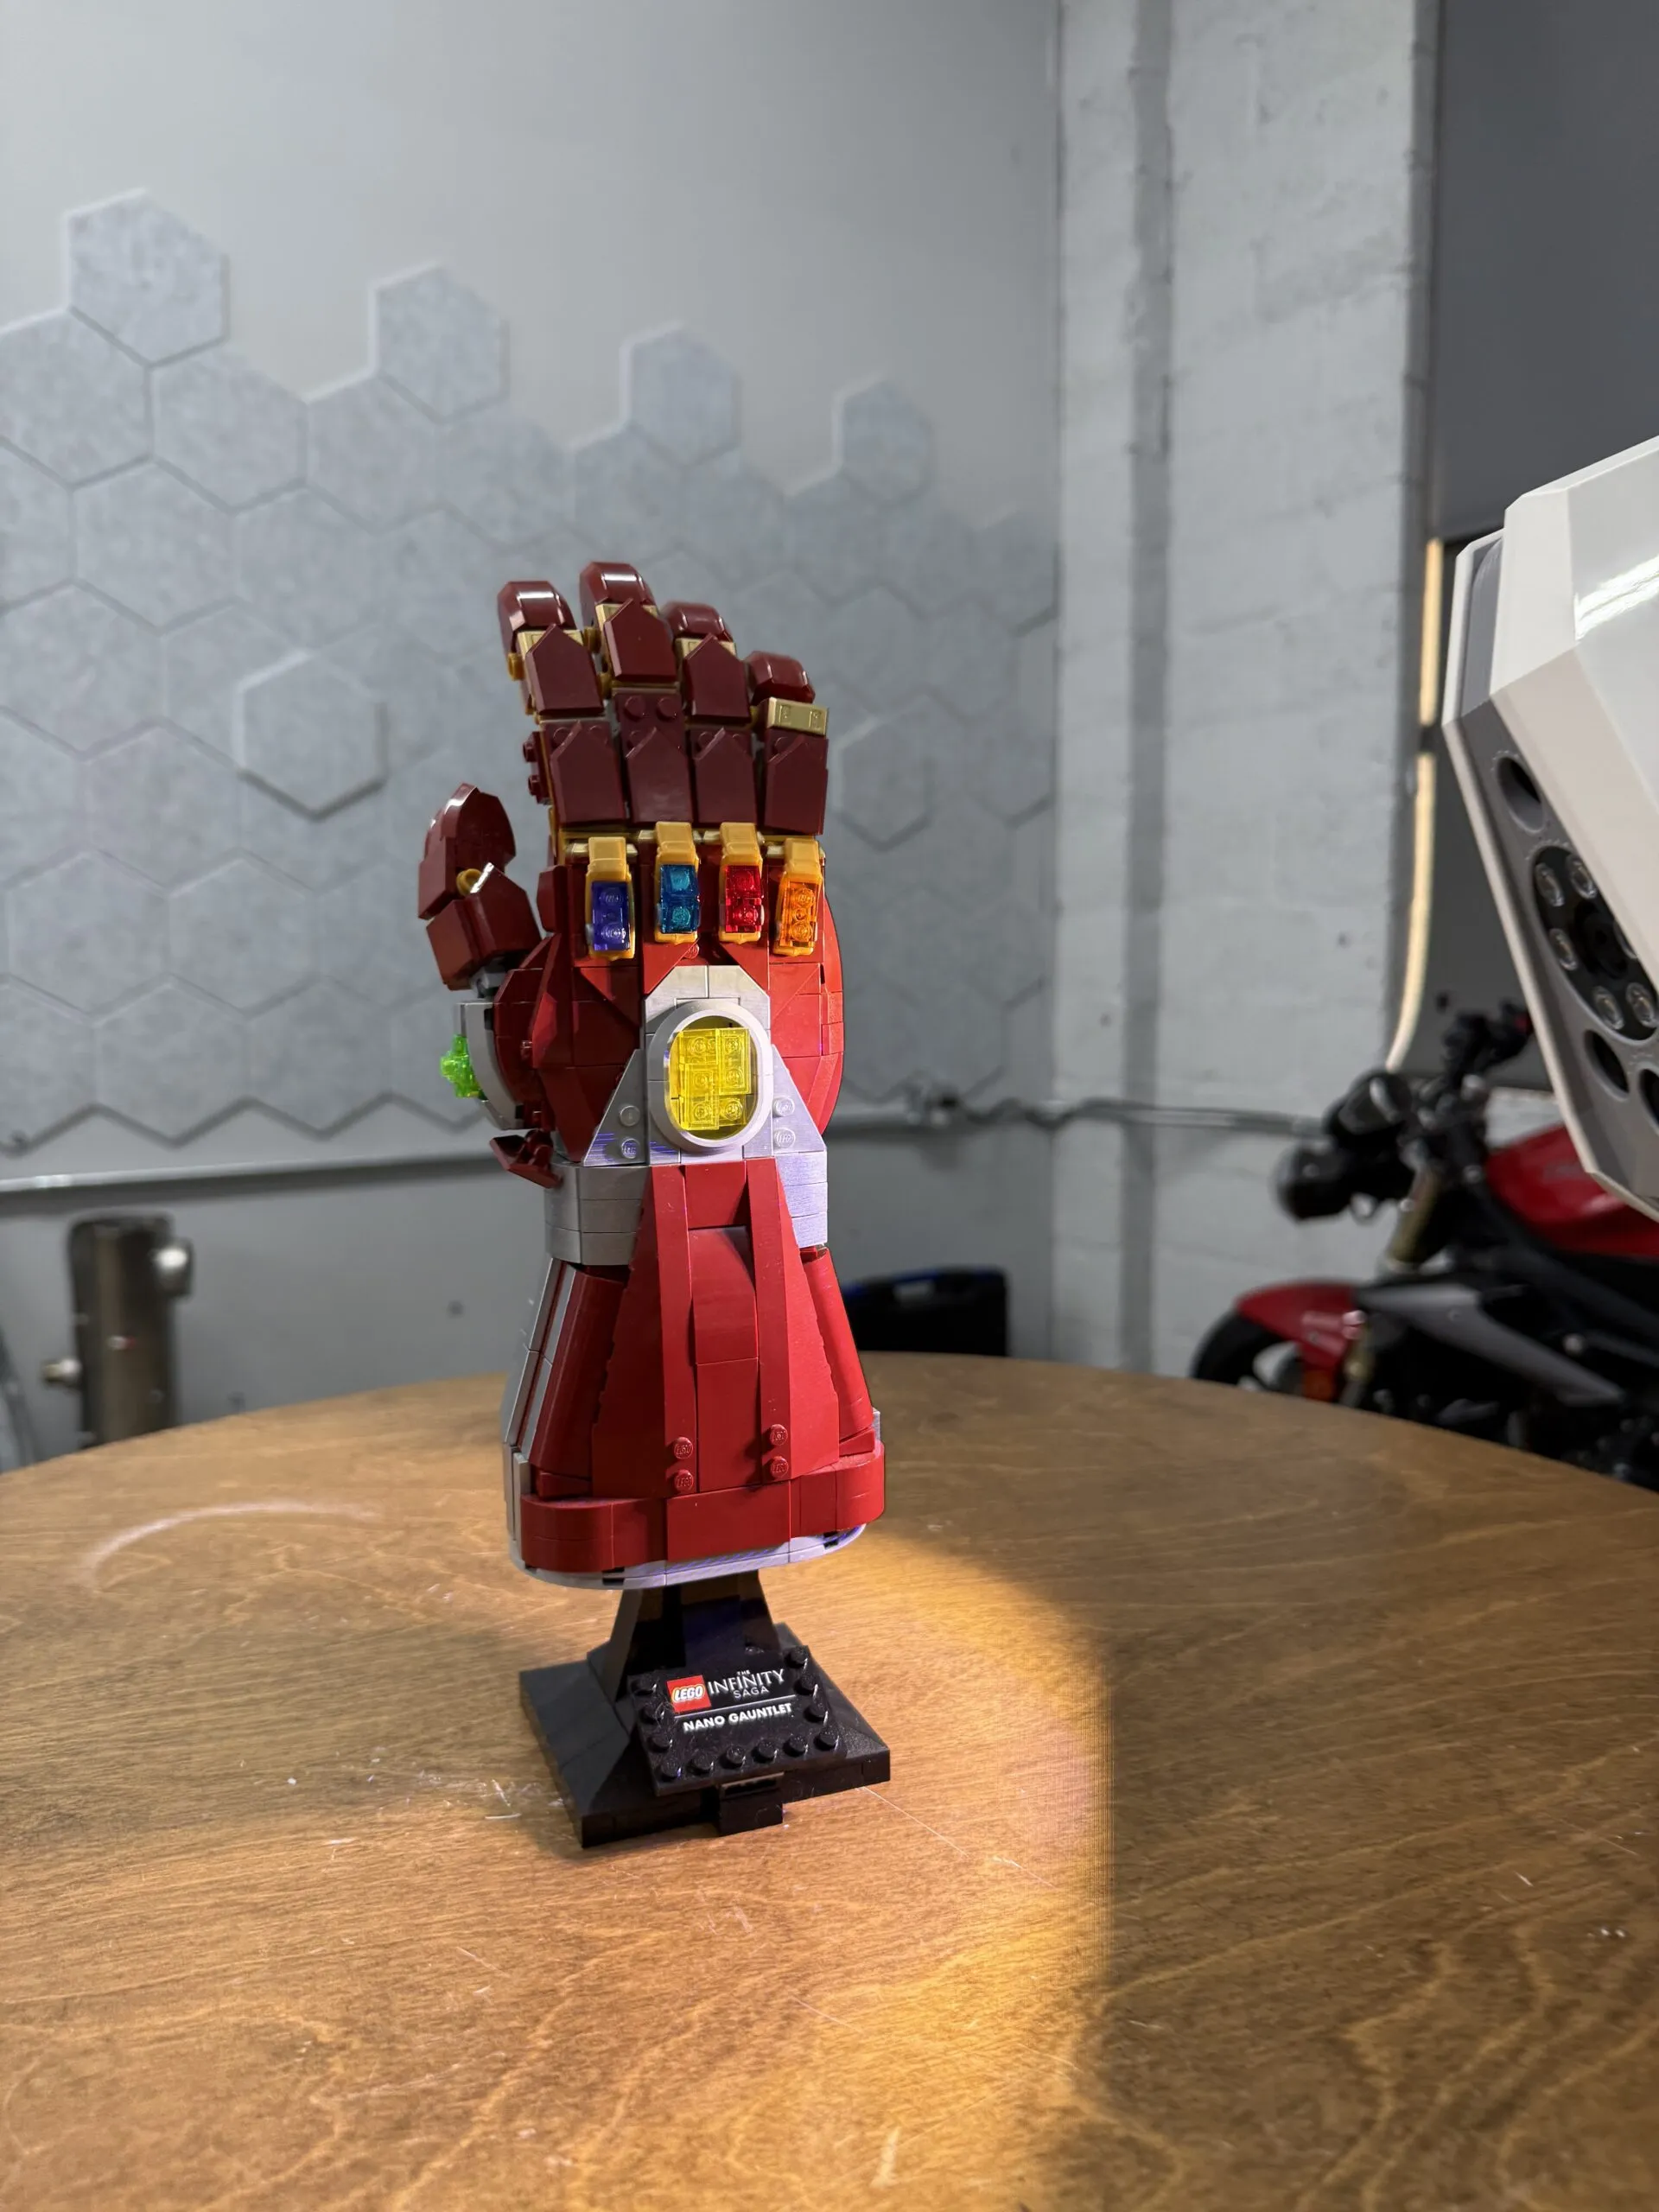
If you have ever searched for a way to turn a physical object into a digital model, you have probably